OUR BACKYARD : NEW FENCE

 
52972CC6-7E52-4CA6-A39B-0B1642283A9B-9C61D2DB-C8A3-4779-BDA7-CC17B5AF81E7.JPG

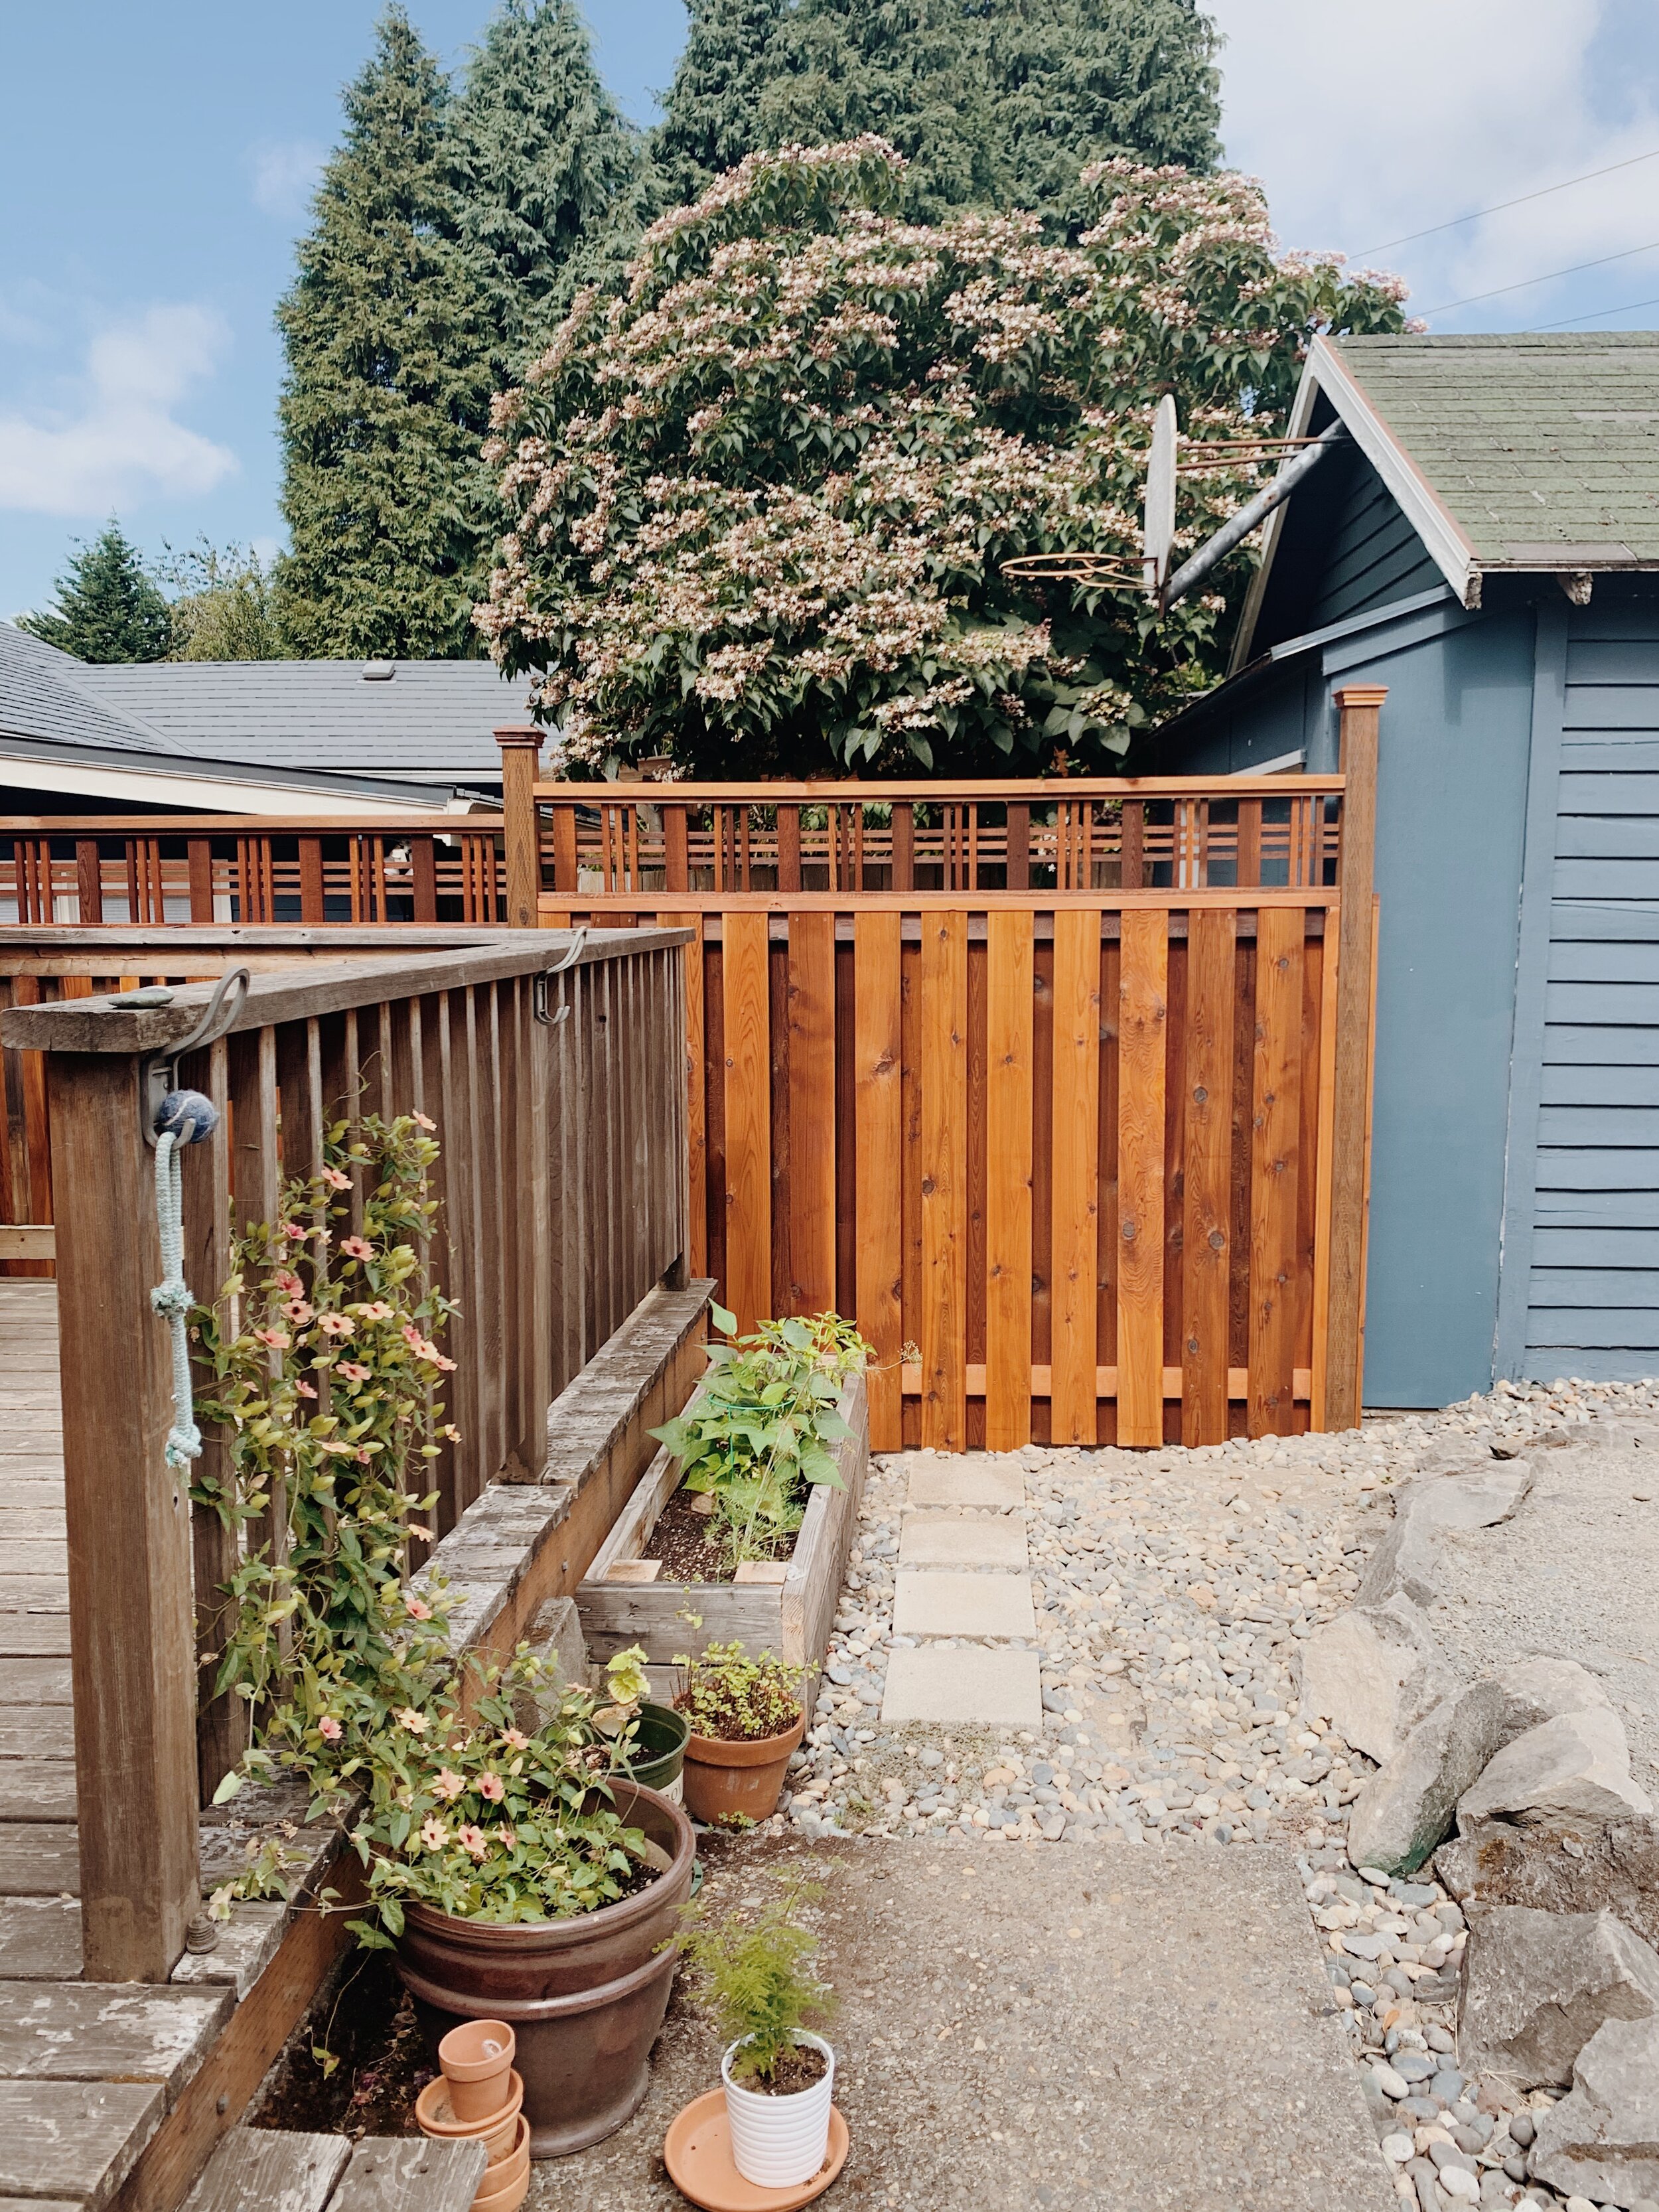
Here we are almost six months into COVID and I have barely posted ANYTHING. Even with the endless staying at home and eating-in that has taken place, you would think I would have had more fun recipes and projects to share, but the WFH life has proved to be more demanding and time consuming than being in office. Meetings. So many meetings and so much screen time. It’s been nice to unplug and read in the back and garden. That being said, we couldn’t stop thinking how we need to do some upgrades to our backyard. We currently have three different types of fences across our yard since our lot is angled and we touch five other properties: some long, some newer, some old, and then one that was about to fall apart. Luck would have it that the one literally rotting away belonged 100% to us - so we started there. This was kind of an unexpected upgrade this summer but WOW did we need it. It is literally what fence-dreams are made of!

Here’s a look at a look at the before…

766C28A4-D14F-4A5E-ACEF-4BD0E9462C9E-4EF81973-9B1A-4C08-91A1-D6EF79C12A3E.JPG
50A7D02C-3626-4DB4-8C51-A35C8FE804DD-E6F8B2C1-9090-466A-90F1-3992F873C110.JPG
BBD7F98E-0619-47F8-8D1E-7A9FE3642894-F63C4B3D-D951-4B81-9650-4B829F3E1E0C.JPG

This fence had to be least 30-40 years old! Super weathered and leaning in spots. Our first instinct was to only replace the existing fence - have it wrap around the desk as it was. But after what it felt like hours of Danny and I standing outside looking at it, we decided it would be great to extend it to wrap around the guest-room (aka now my official home office) window to create privacy and other security for when we egress the basement window underneath. Danny came up with an awesome design on the back of some mail (because that’s where the best ideas and notes are made) and we were ready to go!

Screen Shot 2020-09-01 at 10.42.07 AM.png


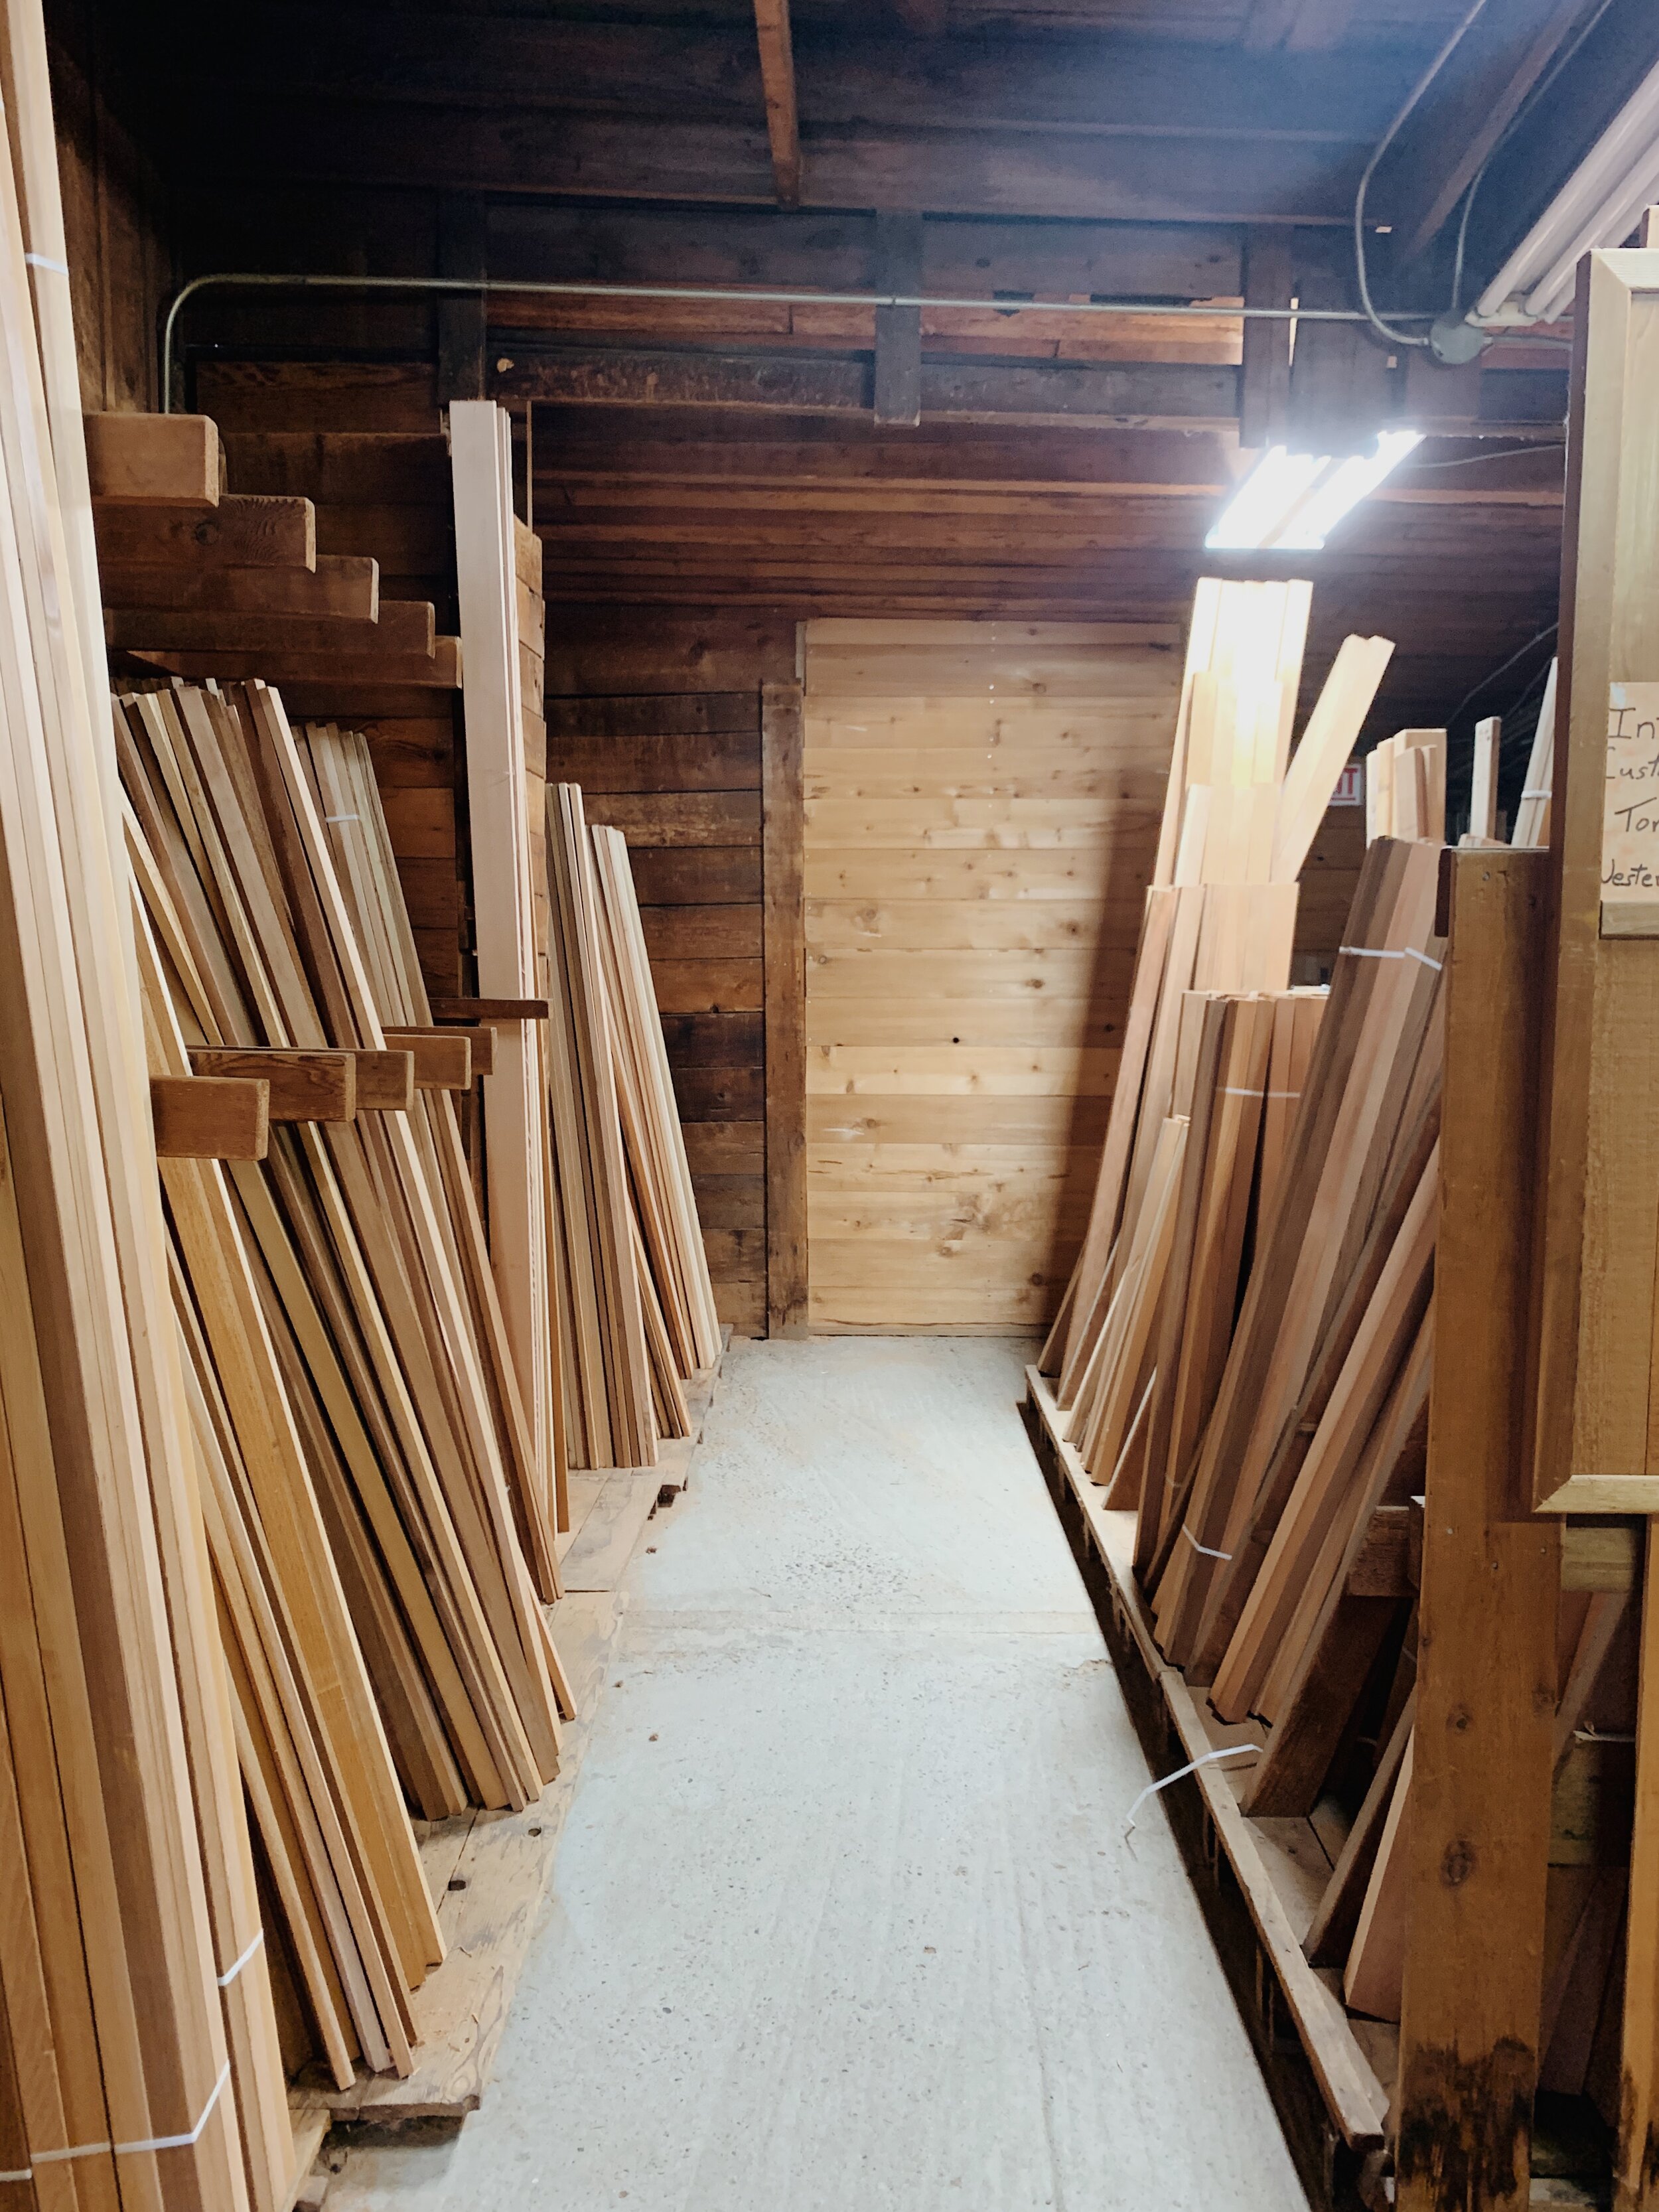
We worked with our cool-cat-carpenter friend (who also built our staircase as well as helped w other misc. projects) who took us to Custom Cedar Products here in Portland to look at cedar. This place has the most beautiful cedar with train tracks behind it where the wood directly comes from the source - VERY Twin Peaks! Staff was also super helpful in our selection and even recommended adding a “Catalina” Lattice on top to add height as well a decoration for vines to grow. Uh, yes please! Would 10/10 recommend this place and it smells go good!

E1584945-176F-4E77-B864-33F770303E68-69AEA595-8E76-420A-B4B7-850109B8FAE7.JPG

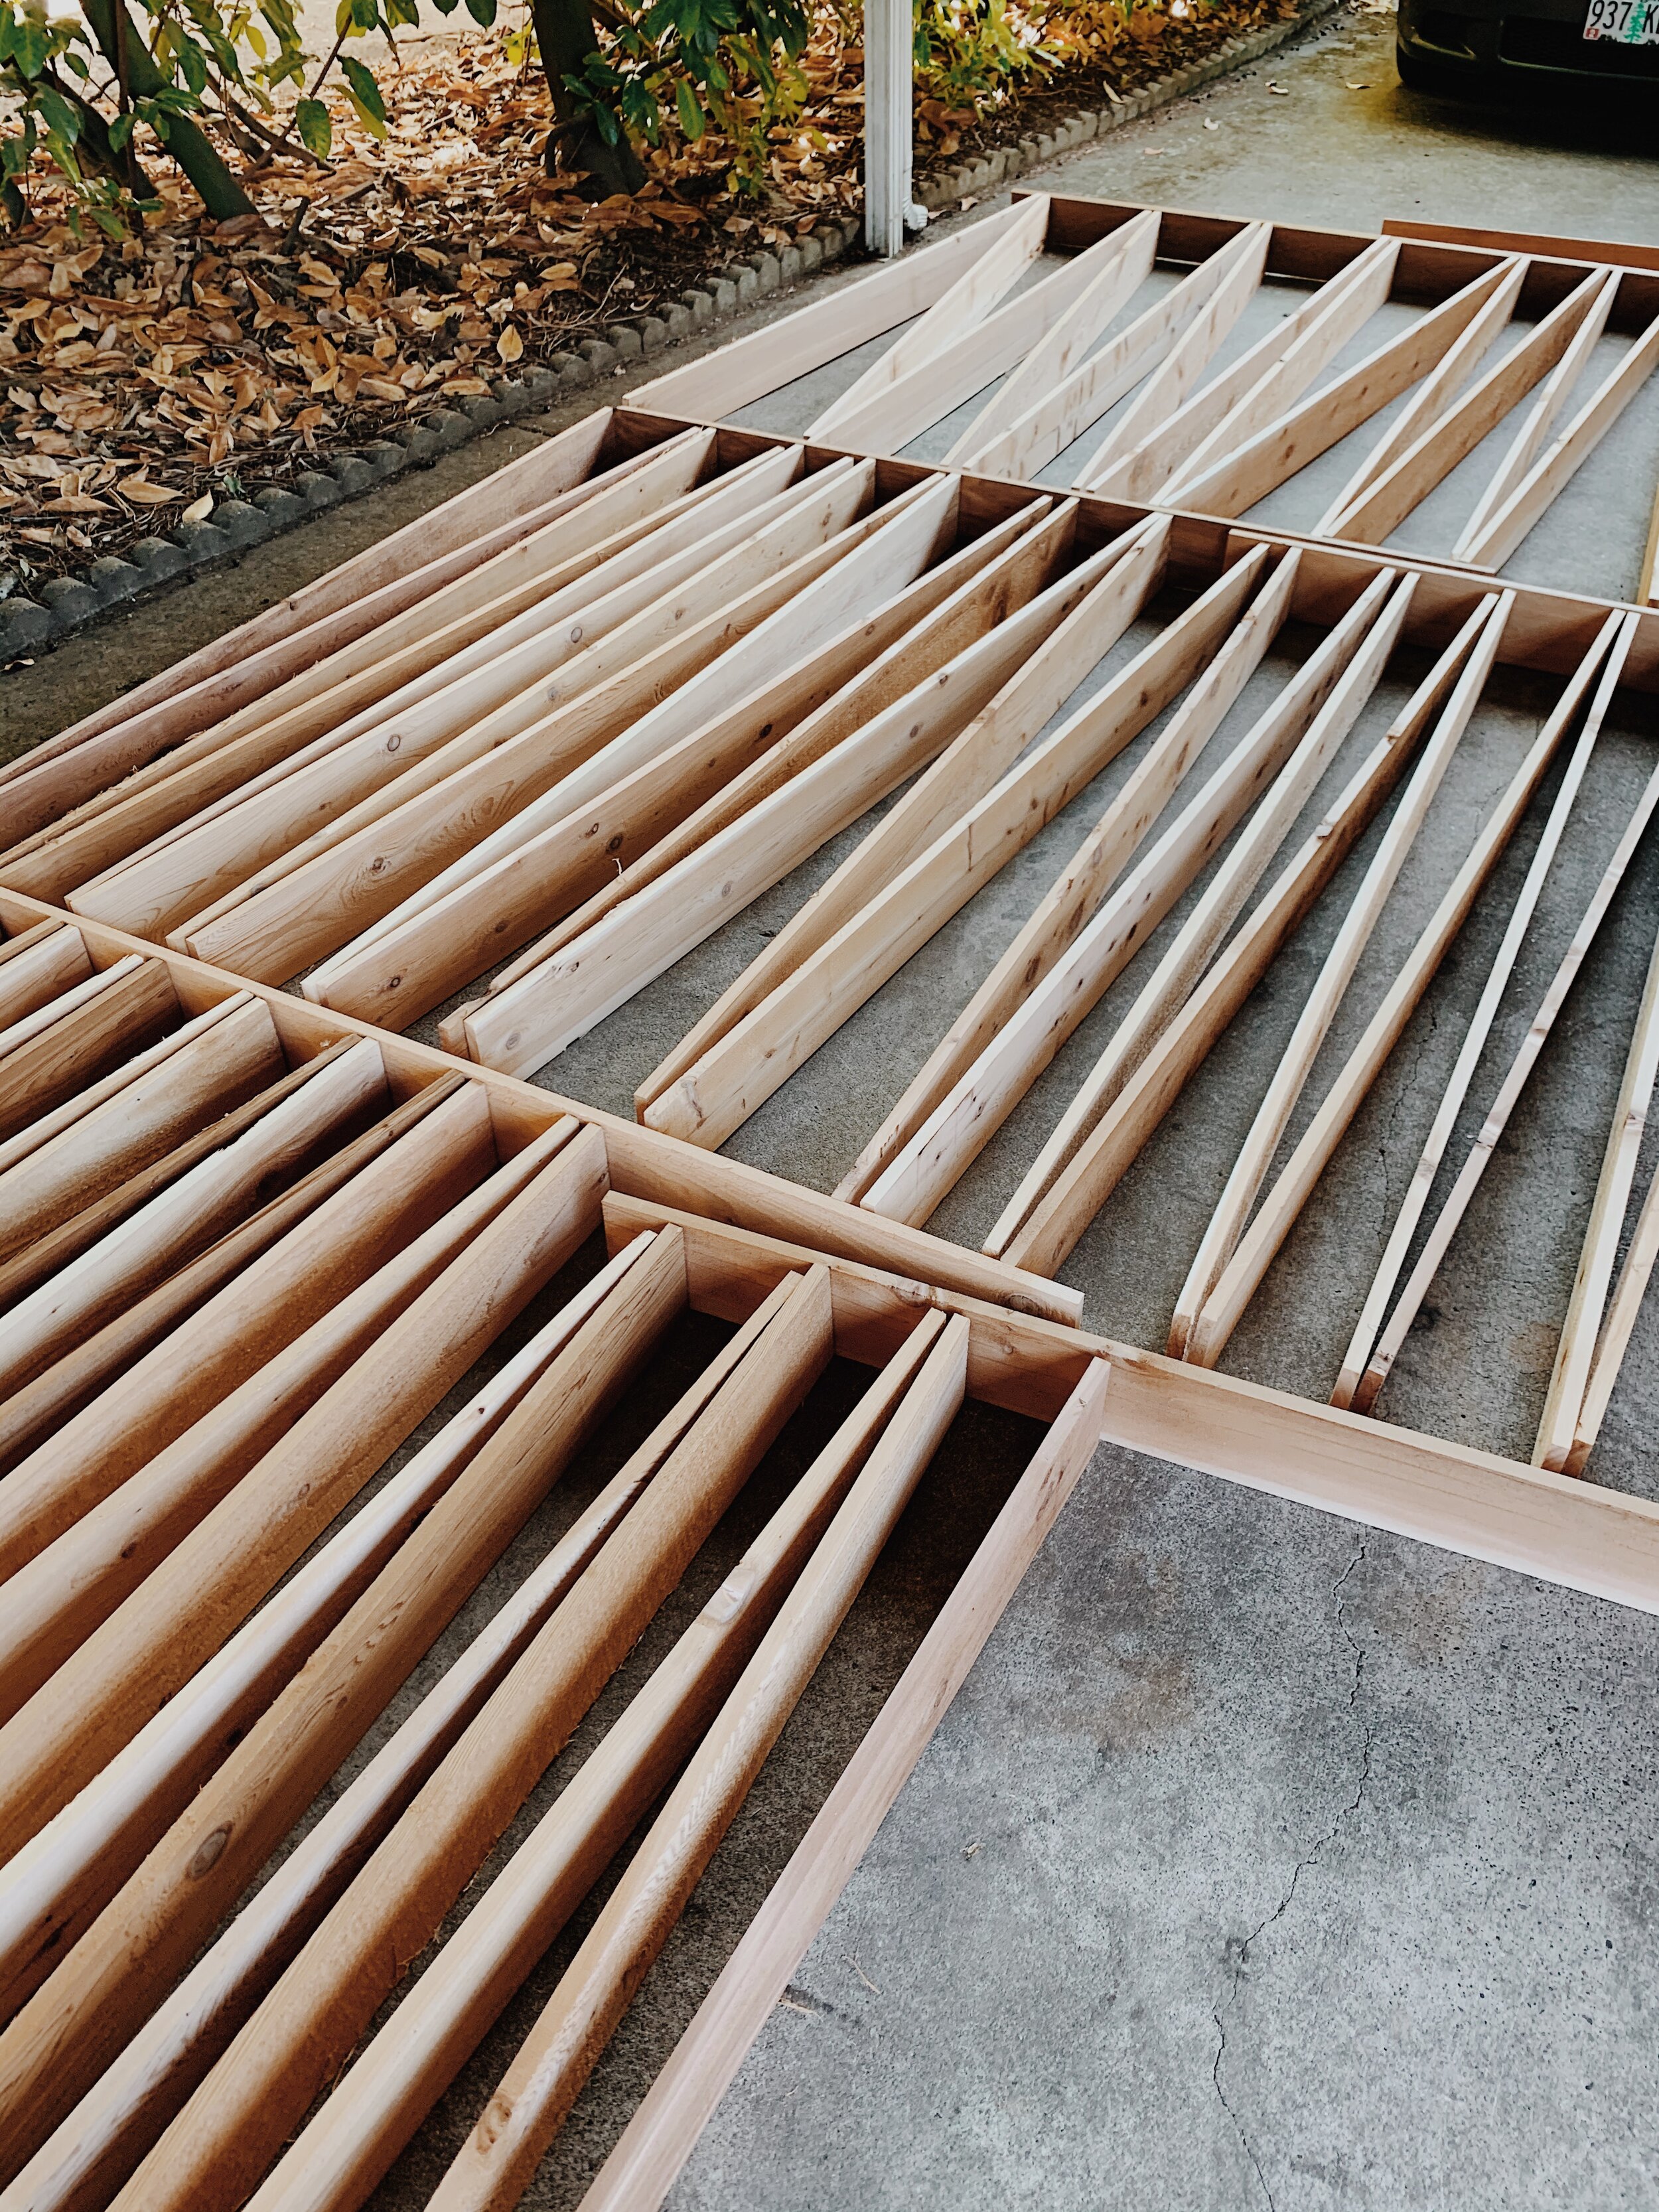
Since we decided to go with a “Good Neighbor” style fence that alternates board construction with decorative posts (kinda like the old one), we had a lot of prep staining to do first to the inner sides of the panels before we could kick down the old fence and get to building. Though fresh and natural cedar is gorgeous, we knew it would weather overtime and turn a grayish color and stain will also help protect and preserve the wood. We used Ready Seal’s Natural Cedar stain to match the other existing fence on this side of our property and man-oh-man did it bring out the rich color variants in the cedar! This stain was also so easy to use and “goof proof” meaning that it won’t get darker and darker in areas when gone over twice! Which is amazing if you’re not pro like myself. This really helps for bleeding on side and underneath the boards. I stood up the panels to dry over the old fence and it really gave us a great glimpse into what the final product would be.

A4330F93-C8D4-4FCC-A7C9-5133E5ADCBB2-AAC69290-DA42-49BD-91EE-483E2D7A29D8.JPG
4F537F81-6C3B-49E8-A345-523F372B0DD0.JPG

Next, came demoing! Which was super and fun and easy since this fence was partially rotted through. Even getting the old posts out wasn’t that hard. And we also removed this ridiculous, wild shrub that Danny described as an old giant TV on the side the house which constantly grew into our neighbors drive way. BYE.

5B85DFC4-CC3E-4844-935F-30344A632292.JPG
F1946C99-C66B-495E-8CFF-C82C3023D170.JPG

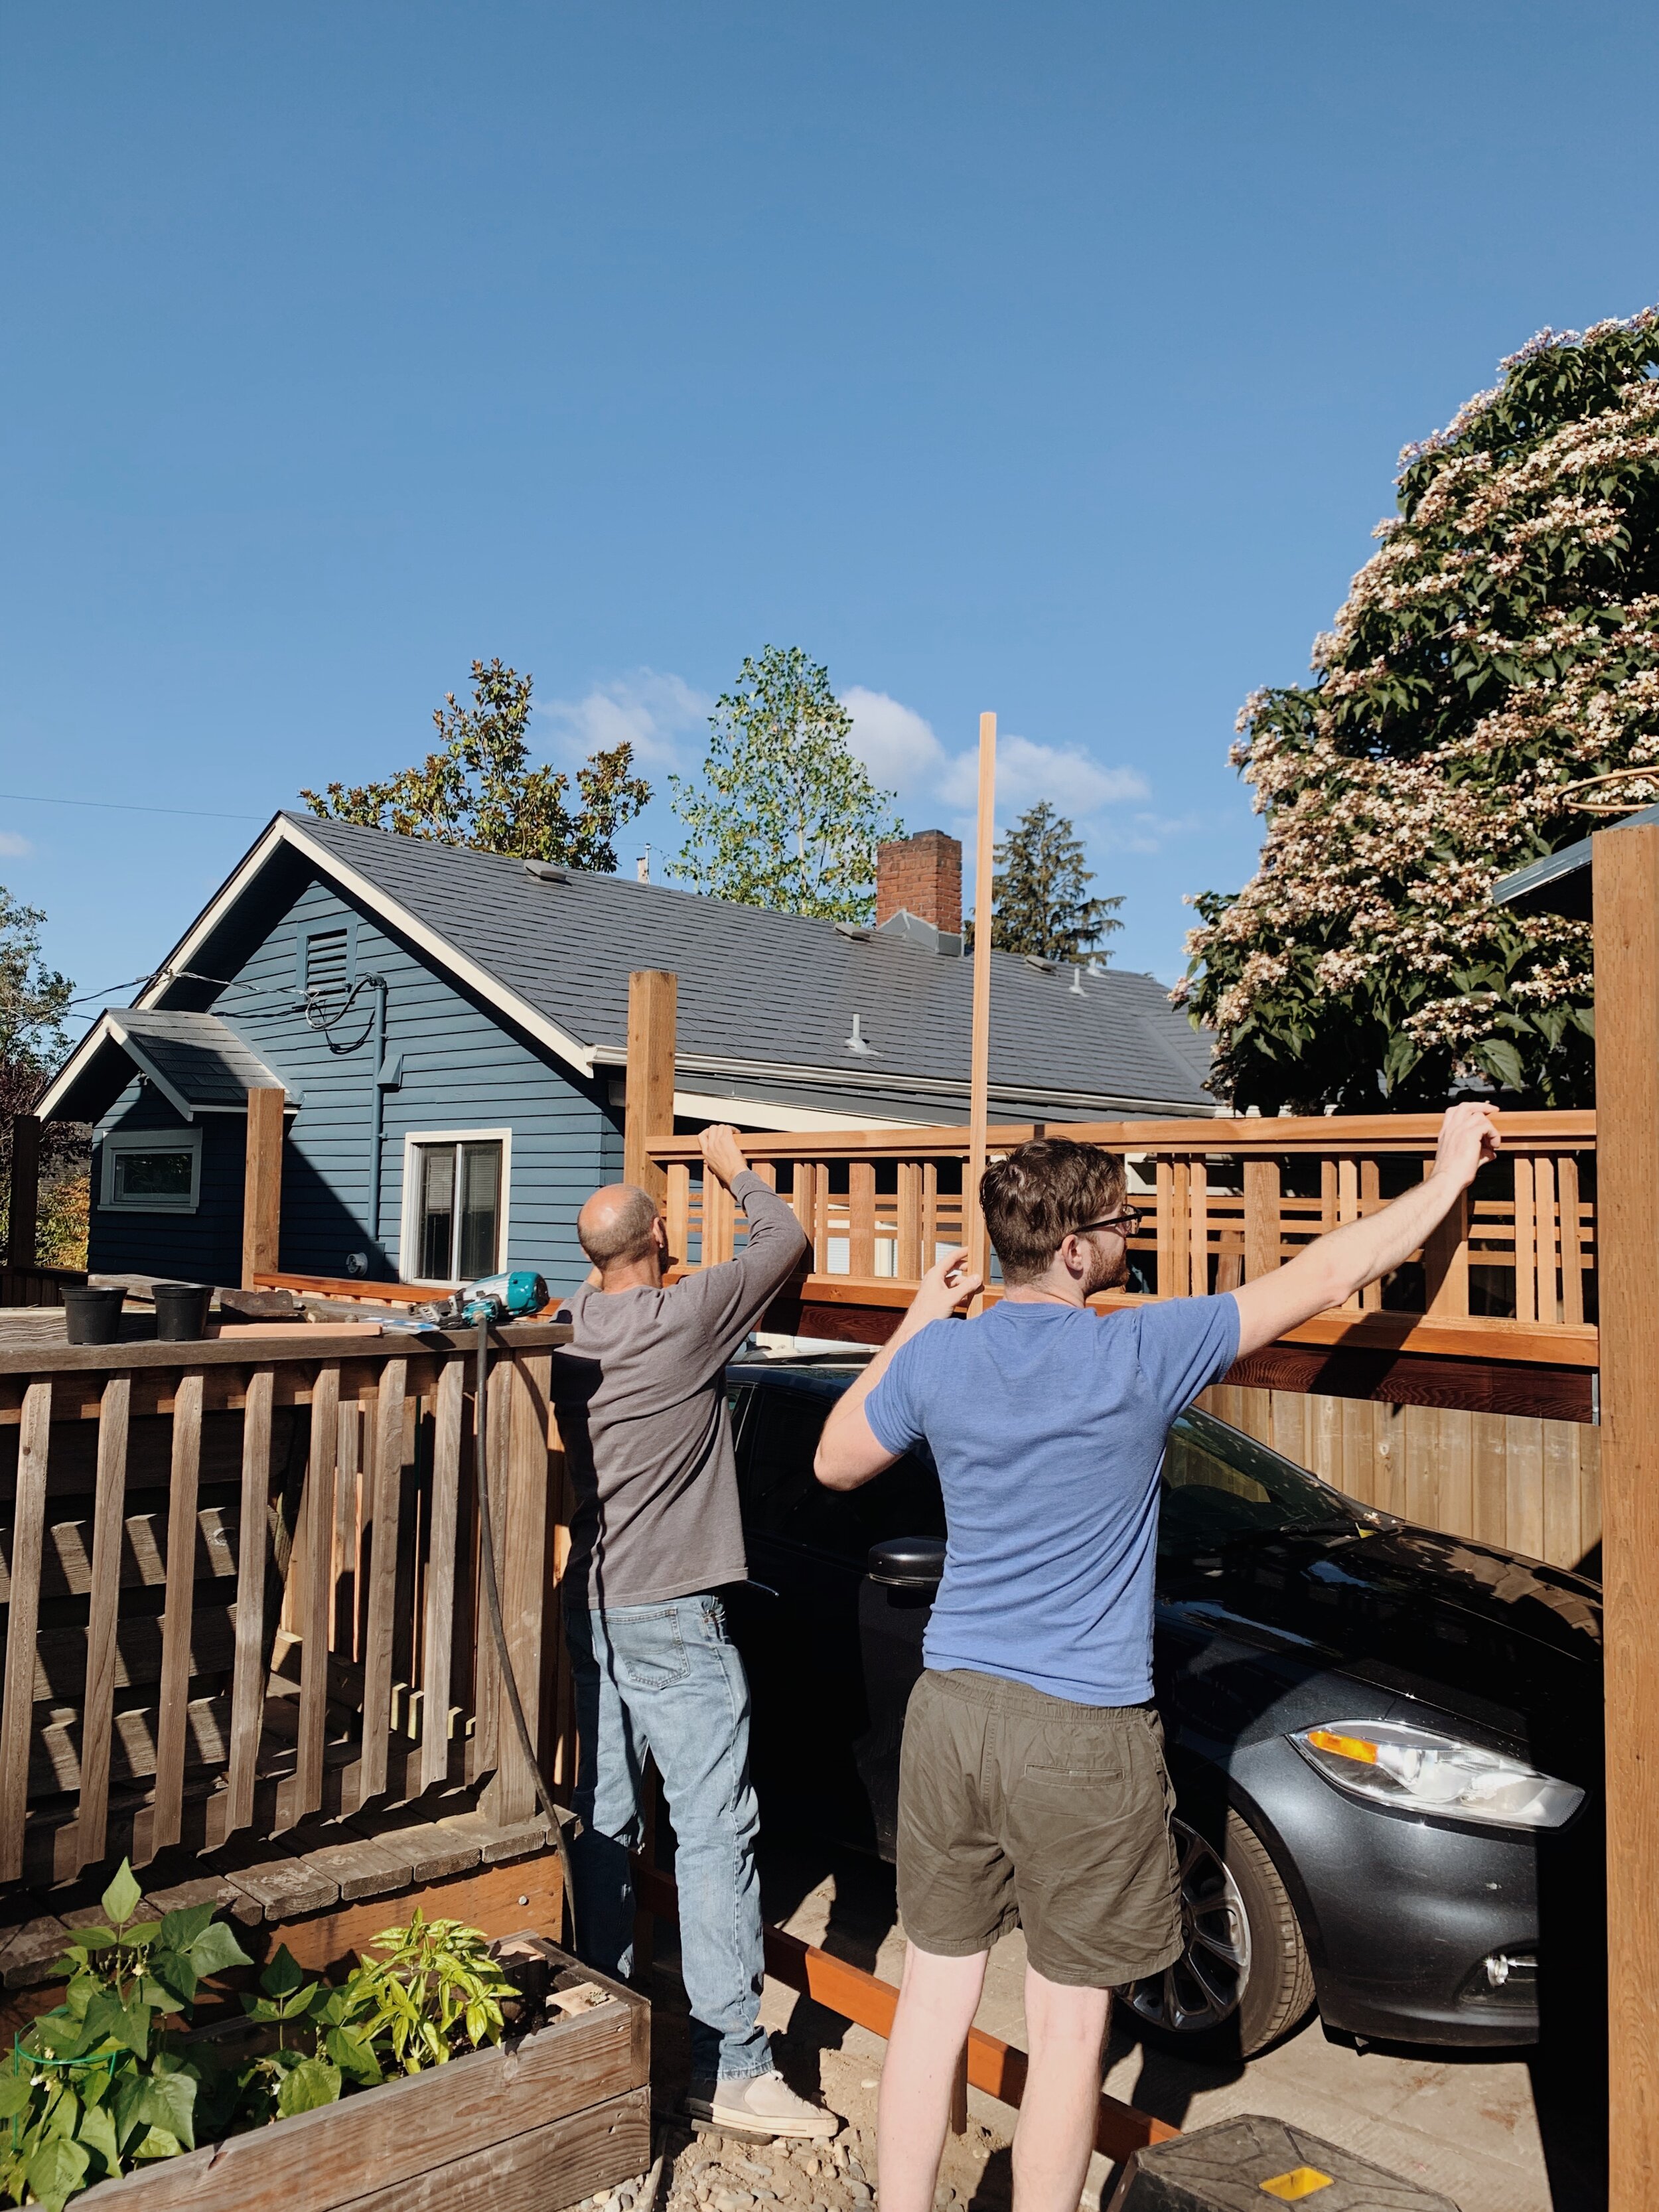
We got the new posts in smoothly and then let them set overnight before adding additional supports and panels. I even engraved “DAS” into the new cement but it got covered in dirt shortly after and now I can’t find it! At this point our design evolved a bit with adding in another step down from the original plan. The whole thing really came together when we added in the Catalina Lattice and the post caps!

10518B99-DCB7-420A-A1C5-5A15D57F9E5B-FCAE6BB0-95A9-44C2-8022-895A6D4D3F06.JPG
D5931C83-5BC0-49C7-87AC-269907874581.JPG

This is the point where we stopped and asked ourselves if we should put in a jacuzzi here.

B9C62464-E7EA-4210-91AC-86820C70F0CB-088FCD27-AF03-47C6-82FD-4B095C9C3E99.JPG
12D88A4A-F620-4DE6-99E6-42F98F474986.JPG

I was very surprised how quickly the entire project went! Before we knew it, we had a new and a beautiful fence for us and our next door neighbor! (Pro Tip: Use stainless Epoxy Screws to prevent black bleeding down the fence as it weathers.)

But the job wasn’t done yet: we still needed to stain the entire thing!
The initial plan was to spray it, but day-of was a bit breezy and we have never had great success spraying stain so we ended up hand applying it ALL. Danny and I both took a side and went for it. The lattice the took the longest by far and then we were able to roll on the rest. This took just over eight overs! Coming in at total of about 20 hours of staining including prep work and just shy of three gallons! Ooof. But we got it done and the results are worth the hard work!

6C66DFB4-A0AA-41F8-876A-BD43CAF539EC-2805BD41-9C10-4112-9461-A2DFDC67BDE2.JPG
9C177B76-9C7D-4648-9A18-1448B5D00621-9BEC2EC3-0F44-40AD-BBAE-4AD93A6127E1.JPG

Danny ended up removing the deck railing because he said it was obstructing his view of the new fence from the kitchen and I love him for that.

A244A223-6856-466F-BFDA-422FCF56D21B-81EEC5B0-C383-4274-89D6-476F252DD683.JPG

We love this fence so much and are 100% happy with our spontaneous decision to change this out this summer! The old fence was so old and such an eyesore but I did not realize how to big of an impact it had on the look of our yard until this arrived. I planted a clematis the other day on the side outside the office window and fingers crossed it grows quickly so we can have beautiful blooms within the next year or so!

Now we want to remodel this entire deck! Maybe next summer!

More home updates coming soon!

LINKS
Cedar Wood
Catalina Lattice
Stain - Ready Seal Natural Cedar
Post Caps


Follow

OUR FIRST YEAR AS HOMEOWNERS: WHAT WE'VE LEARNED

 
IMG_2470.JPG

We recently had our one year anniversary of being homeowners - not only owning a home, but also renovating one. I know tons of people are in the same boat as us and they know: it ain’t easy. HGTV is great and I am definitely guilty in over-indulging on Fixer Upper and Property Brothers, but what you don’t see are the massive teams behind the scenes and the real cost of things. So I wanted to share a few thoughts from just an average, young homeowner on a real-life budget for those who are looking to buy, are in the process of buying, or who are looking to work on their little slices of earth.


START EARLY & DO YOUR RESEARCH

Looking for a home is very exciting. Things you never thought about are now major topics of discussion and it’s easy to get in over your head. But before you hop onto Redfin or Zillow, saving homes with cute windows, know where you stand.
Danny and I started talking to a mortgage broker well over a year before we were ready to buy. We were fortunate to have gotten in contact with a broker and realtor with tons of patience to walk us through all the steps, numbers, rates, ALL the terminology, and what it would take from us as life-long-renters to make the leap. Knowing how much you can actually afford may surprise you and will set you up with realistic expectations. This will also give you the time and wiggle room to set yourself up for success and save for the appropriate down payment you will need to make your monthly mortgage one that works for you.

Starting early also allows you to get organized. There will be a billion questions lenders are going to ask you and you had better be ready with answers and paperwork to support them. The escrow period is really just a giant audit of your financial life and the decisions you have made. So, if you’re thinking of buying a new car or taking a fancy vacation before you buy a home, you should probably wait. Take it from me.

Remember, the broker and realtor are there to help you get the house. Find ones you can trust and you get along with. They will be your best friend through it all.

Lastly, really do your research of where you want to buy. Be honest and ask if you can see yourself in that particular neighborhood for a long period of time. Does that area appreciate in value? What is it like in the evenings? A home’s appearance can always change overnight, but neighborhoods take a bit more time. For Danny and I, we ended up buying the home we did for the neighborhood. Make sure the area fits your lifestyle and your daily needs. Otherwise, you might find yourself away from home more than you want.

Screen Shot 2018-11-29 at 12.30.10 PM.png


YES, IT COSTS THAT MUCH… PLUS MORE

A window is $1k??? What!? Painters costs how much? WE NEED A NEW ELECTRICAL PANEL?!?!

If you buy a home that will need some love, don’t believe what you see on TV or what you read online. Because, yes, it DOES cost that much and will likely be more than you anticipated in the end. DIY is great and we are total advocates, but there are just some things you cannot do, or just flat don’t want to because really, who has the time? Materials and labor cost a lot. That’s just how it is. Things cost as much as they do for a reason, so don’t cut corners. You’ll end up spending way more in the end.

When hiring professionals, get as many quotes as you can and do your background research on them before committing to any one. You’ll be surprised at some of the ranges you will get. Then, whatever cost you agree on, set aside a little more as cushion. You never know what lies in your walls until you start opening them. Sometimes, it’s nothing, but again, you never know… And then, if you don’t need it, now you can buy that nice piece of furniture you’ve had your eyes on for your new room!

Screen Shot 2018-11-29 at 12.30.36 PM.png

NEVER ASSUME

Ask questions. TONS OF THEM. Who cares if you sound like a crazy person.

I think this is the most important thing I have learned in the last year. I work full time and unfortunately cannot be there during the normal hours people work on our house, so sometimes decisions get left to someone else. Don’t ever assume they will know exactly what you want because they aren’t you. No one can read your mind or know your exact vision unless you constantly ask questions and get involved. If not, sometimes it will be too late, and well... you’re just going to have to live with it for a while, or forever. Be clear, concise, create diagrams by hand or in a simple CAD application like SketchUp, if you have the skillset. Do whatever you have to do. Be over-attentive to detail. This is your home and your money, after all.

Screen Shot 2018-11-29 at 12.31.28 PM.png

DOUBLE YOUR LEAD TIMES

Planning a party or have family coming to visit soon? Probably not a good time to start any projects. Renovations of any kind take a while. Whatever lead times you set aside for yourself or receive: double it. When we started our stair project (which is still not 100% done) we anticipated six weeks for completion. At WEEK TWELVE we were finally able to remove the plastic walls and use them regularly. Good work takes time so you have to be flexible. Materials can easily not be available or backordered, and you know what - contractors are humans too, with families, and they need breaks. Be patient no matter what comes up (the struggle is real), you’ll be thankful in the end .

Screen Shot 2018-11-29 at 12.39.38 PM.png

MAKE REALISTIC EXPECTATIONS

Lastly, don’t set yourself up for disappointment. I, for one, was terrible with this. I wanted things done a certain way and wanted them done NOW. This made the whole process tough and exhausting.

Know that not everything is going to work out as you plan and be ready for the rollercoaster. Be realistic with your wants vs needs. Make a list of real priorities to help set yourself up for what can really be obtained with your timeline and budget. Learning how to live in less than ideal situations is going to be a big part of the process in any home buying or renovation. And really, when you live in an unideal space, it gives you the chance to be creative with what you got. You might impress yourself with what you come up with.

Screen Shot 2018-11-29 at 12.39.05 PM.png

Being a homeowner has taught us so much and has also put a lot in perspective. I am so grateful to be able to have experienced all the things mentioned above and encourage everyone to take risks and make themselves uncomfortable sometimes.

Thanks for being here.

Follow

DIY MID CENTURY INSPIRED HOOP LOG HOLDER

 
IMG_4072.JPG

Now that Danny and I have a fireplace, and actually have weather where it's practical to use it, we have been accumulating tons of firewood and not really having a decent place to put it in the house. So, I have been searching for cute, mid-century-esqe log holders, and, of course, I found one, and, of course, at a price that was NOT practical. So, I did some digging to try and re-create my own.

What you will need:

Steel Log Hoop
Brass Spray Paint
Twine or yarn
Steel wool
Microfiber cloth
Gloves (optional)


IMG_5526.jpg

Place iron hoop on a surface outside that you can get messy. Using a steel wool pad, brush over the hoop to smooth out any bumps or imperfections. Then, wipe down with a microfiber cloth to remove any dust or debris. Make sure your hoop is dry before spray painting.

IMG_5550.jpg

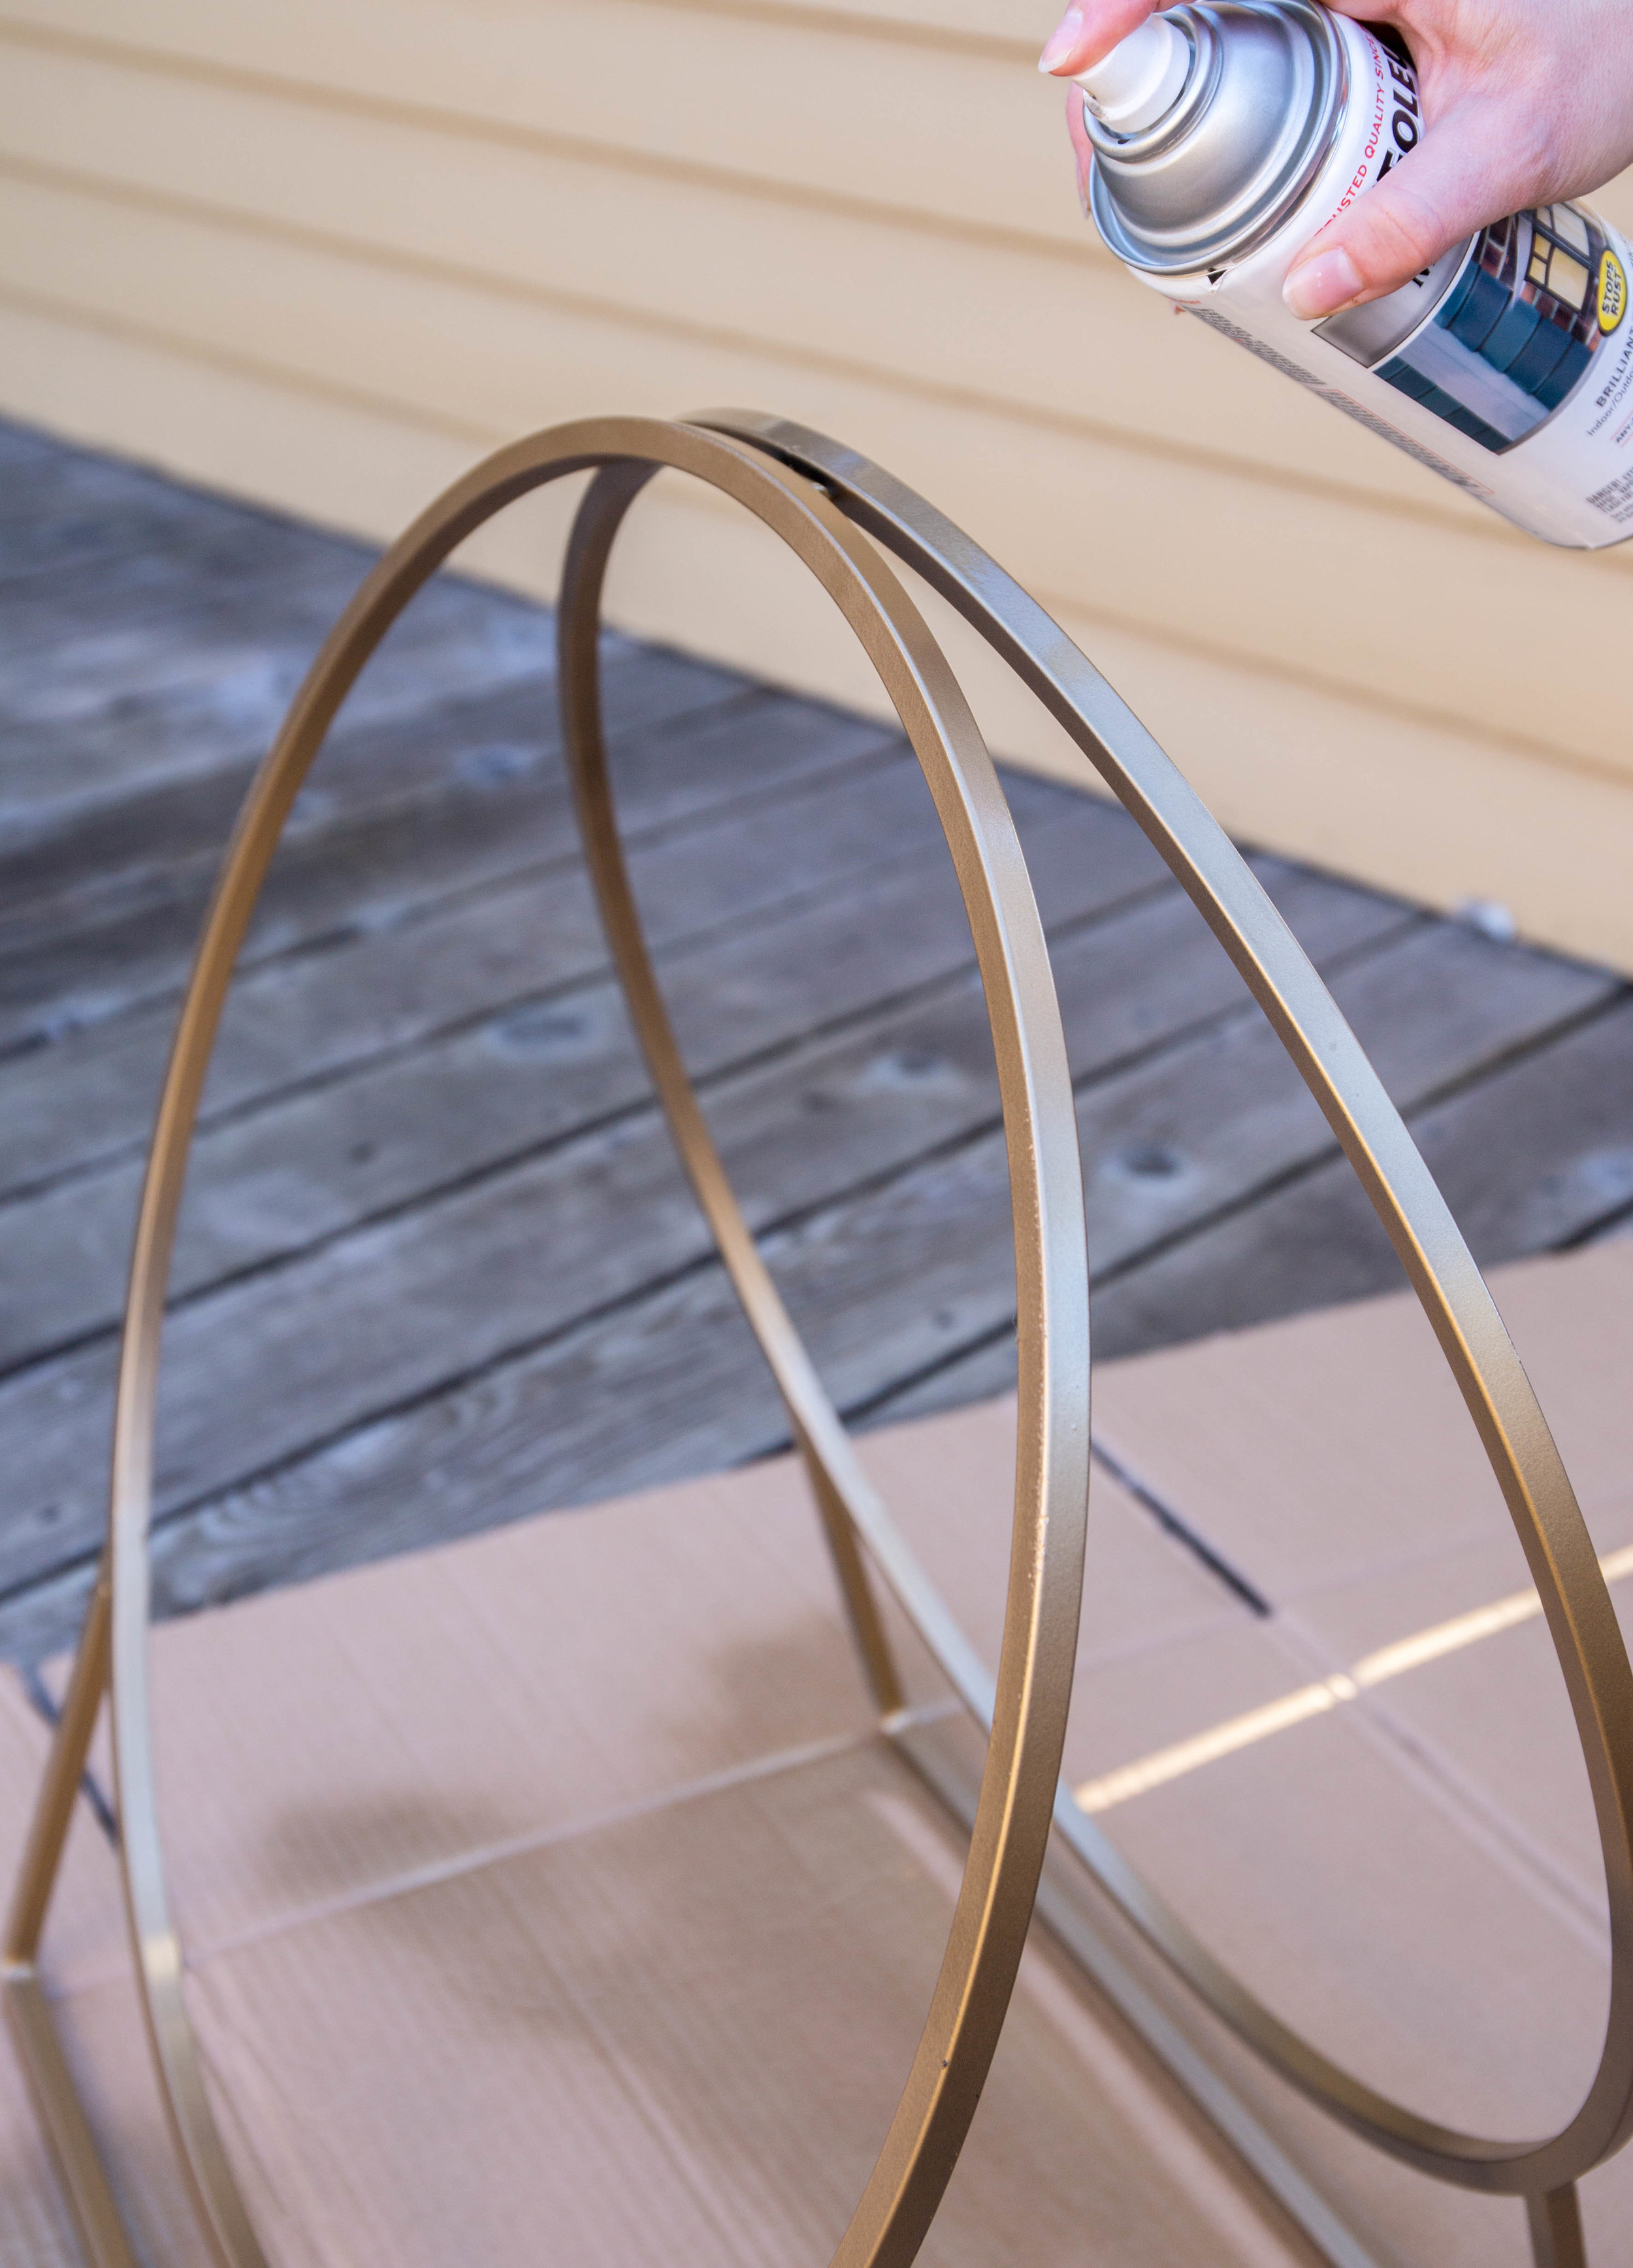
Then, smoothly and, in a steady left-to-right-right-to-left motion, paint the entirety of the hoop, holding the can far enough away from the hoop to avoid any patchiness and dripping. Let dry before flipping over to spay back side. 

IMG_5565.jpg

Once dry, wrap yard or twine around the bottom portion, creating a basket, and secure with small knots on each side.

IMG_5581.jpg
Snapseed.jpg

Wrap a small amount around the handle to tie in the basket design and...

_MG_5604.jpg
_MG_5623.jpg


Look at that! Your own DIY mid-century inspired hoop log holder! 

_MG_5624.2.jpg
_MG_5629.2.jpg
_MG_5634.jpg

Follow