OUR STAIRCASE : THE PLAN

 
855e6a4b1273505e9aacc2fb1fe12e16.jpg
Organization-Ideas-19.jpg

Our almost-100-year-old little bungalow was blessed with a death-trap of a staircase. It's steep, tight, low in areas, and even has carpet from I don't even know when. I've had my share of spills down it, and anyone who is over 5'4 is sure to hit their head on the way up or down. Worse yet, if you're trying to carry anything up, there's a point about half way where you have to lift the item above your head, otherwise you slam right into the stairs above you. They are terrible. The worst. I am not exaggerating. AND, again... they are carpeted! YUCK!

IMG_4392.jpg
IMG_4390.jpg

So, we started to talk about how we can improve these stairs as-is and couldn't come up with any cost-effective way that would actually solve the issue. We had already been entertaining the idea of opening up the wall that separated our living room and the front bedroom. So, why not just move the direction of the stairs while we are it? Genius! 

IMG_4391.jpg

The idea is to have the new staircase follow up the side of the front bedroom wall (this room will later become part of our living room), beginning with a slight turn upward, and then continuing up in a straight path. This will give us a longer, more gradual stairway, and allow us to have more room to work with upstairs, eliminating a lot of dead space.

Our house also lacks quality closet space, and the current staircase intrudes into our bedroom closet at an angle, cutting off the otherwise usable top right corner and leaving us with an awkward, two-thirds of a closet. So, when we close it up during the new staircase build-out, we are also thinking of re-purposing the current staircase entryway into a walk-in closet, or into built-ins. 

IMG_4394.jpg

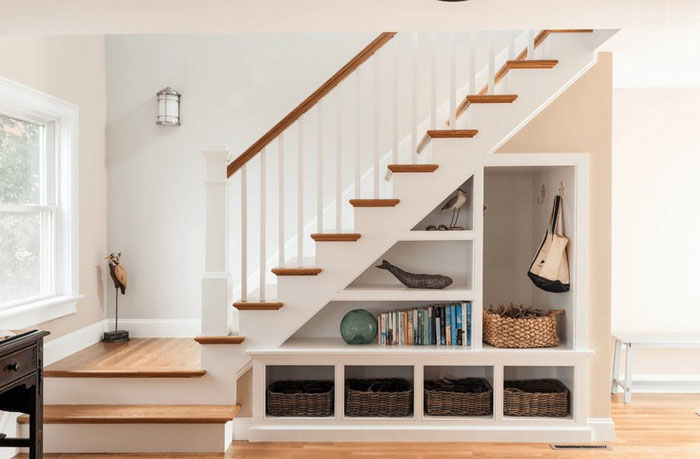
This major project will not only prevent injury or death to us and our guests, but open up the room, creating a very welcoming appearance (see inspiration photos above), and instantly adding major value to our home. Win-win! We are currently waiting for drawings to finalize with our engineer and are on the books for a mid-to-late April start! Can't wait to update with progress soon!

Inspiration photos 1 / 2 / 3 / 4 

Special THANKS to Bonney Johnson (aka prettygoodpdx) for letting me use her photos of her beautiful staircase - our major inspiration. 

Follow

DIY MID CENTURY INSPIRED HOOP LOG HOLDER

 
IMG_4072.JPG

Now that Danny and I have a fireplace, and actually have weather where it's practical to use it, we have been accumulating tons of firewood and not really having a decent place to put it in the house. So, I have been searching for cute, mid-century-esqe log holders, and, of course, I found one, and, of course, at a price that was NOT practical. So, I did some digging to try and re-create my own.

What you will need:

Steel Log Hoop
Brass Spray Paint
Twine or yarn
Steel wool
Microfiber cloth
Gloves (optional)


IMG_5526.jpg

Place iron hoop on a surface outside that you can get messy. Using a steel wool pad, brush over the hoop to smooth out any bumps or imperfections. Then, wipe down with a microfiber cloth to remove any dust or debris. Make sure your hoop is dry before spray painting.

IMG_5550.jpg

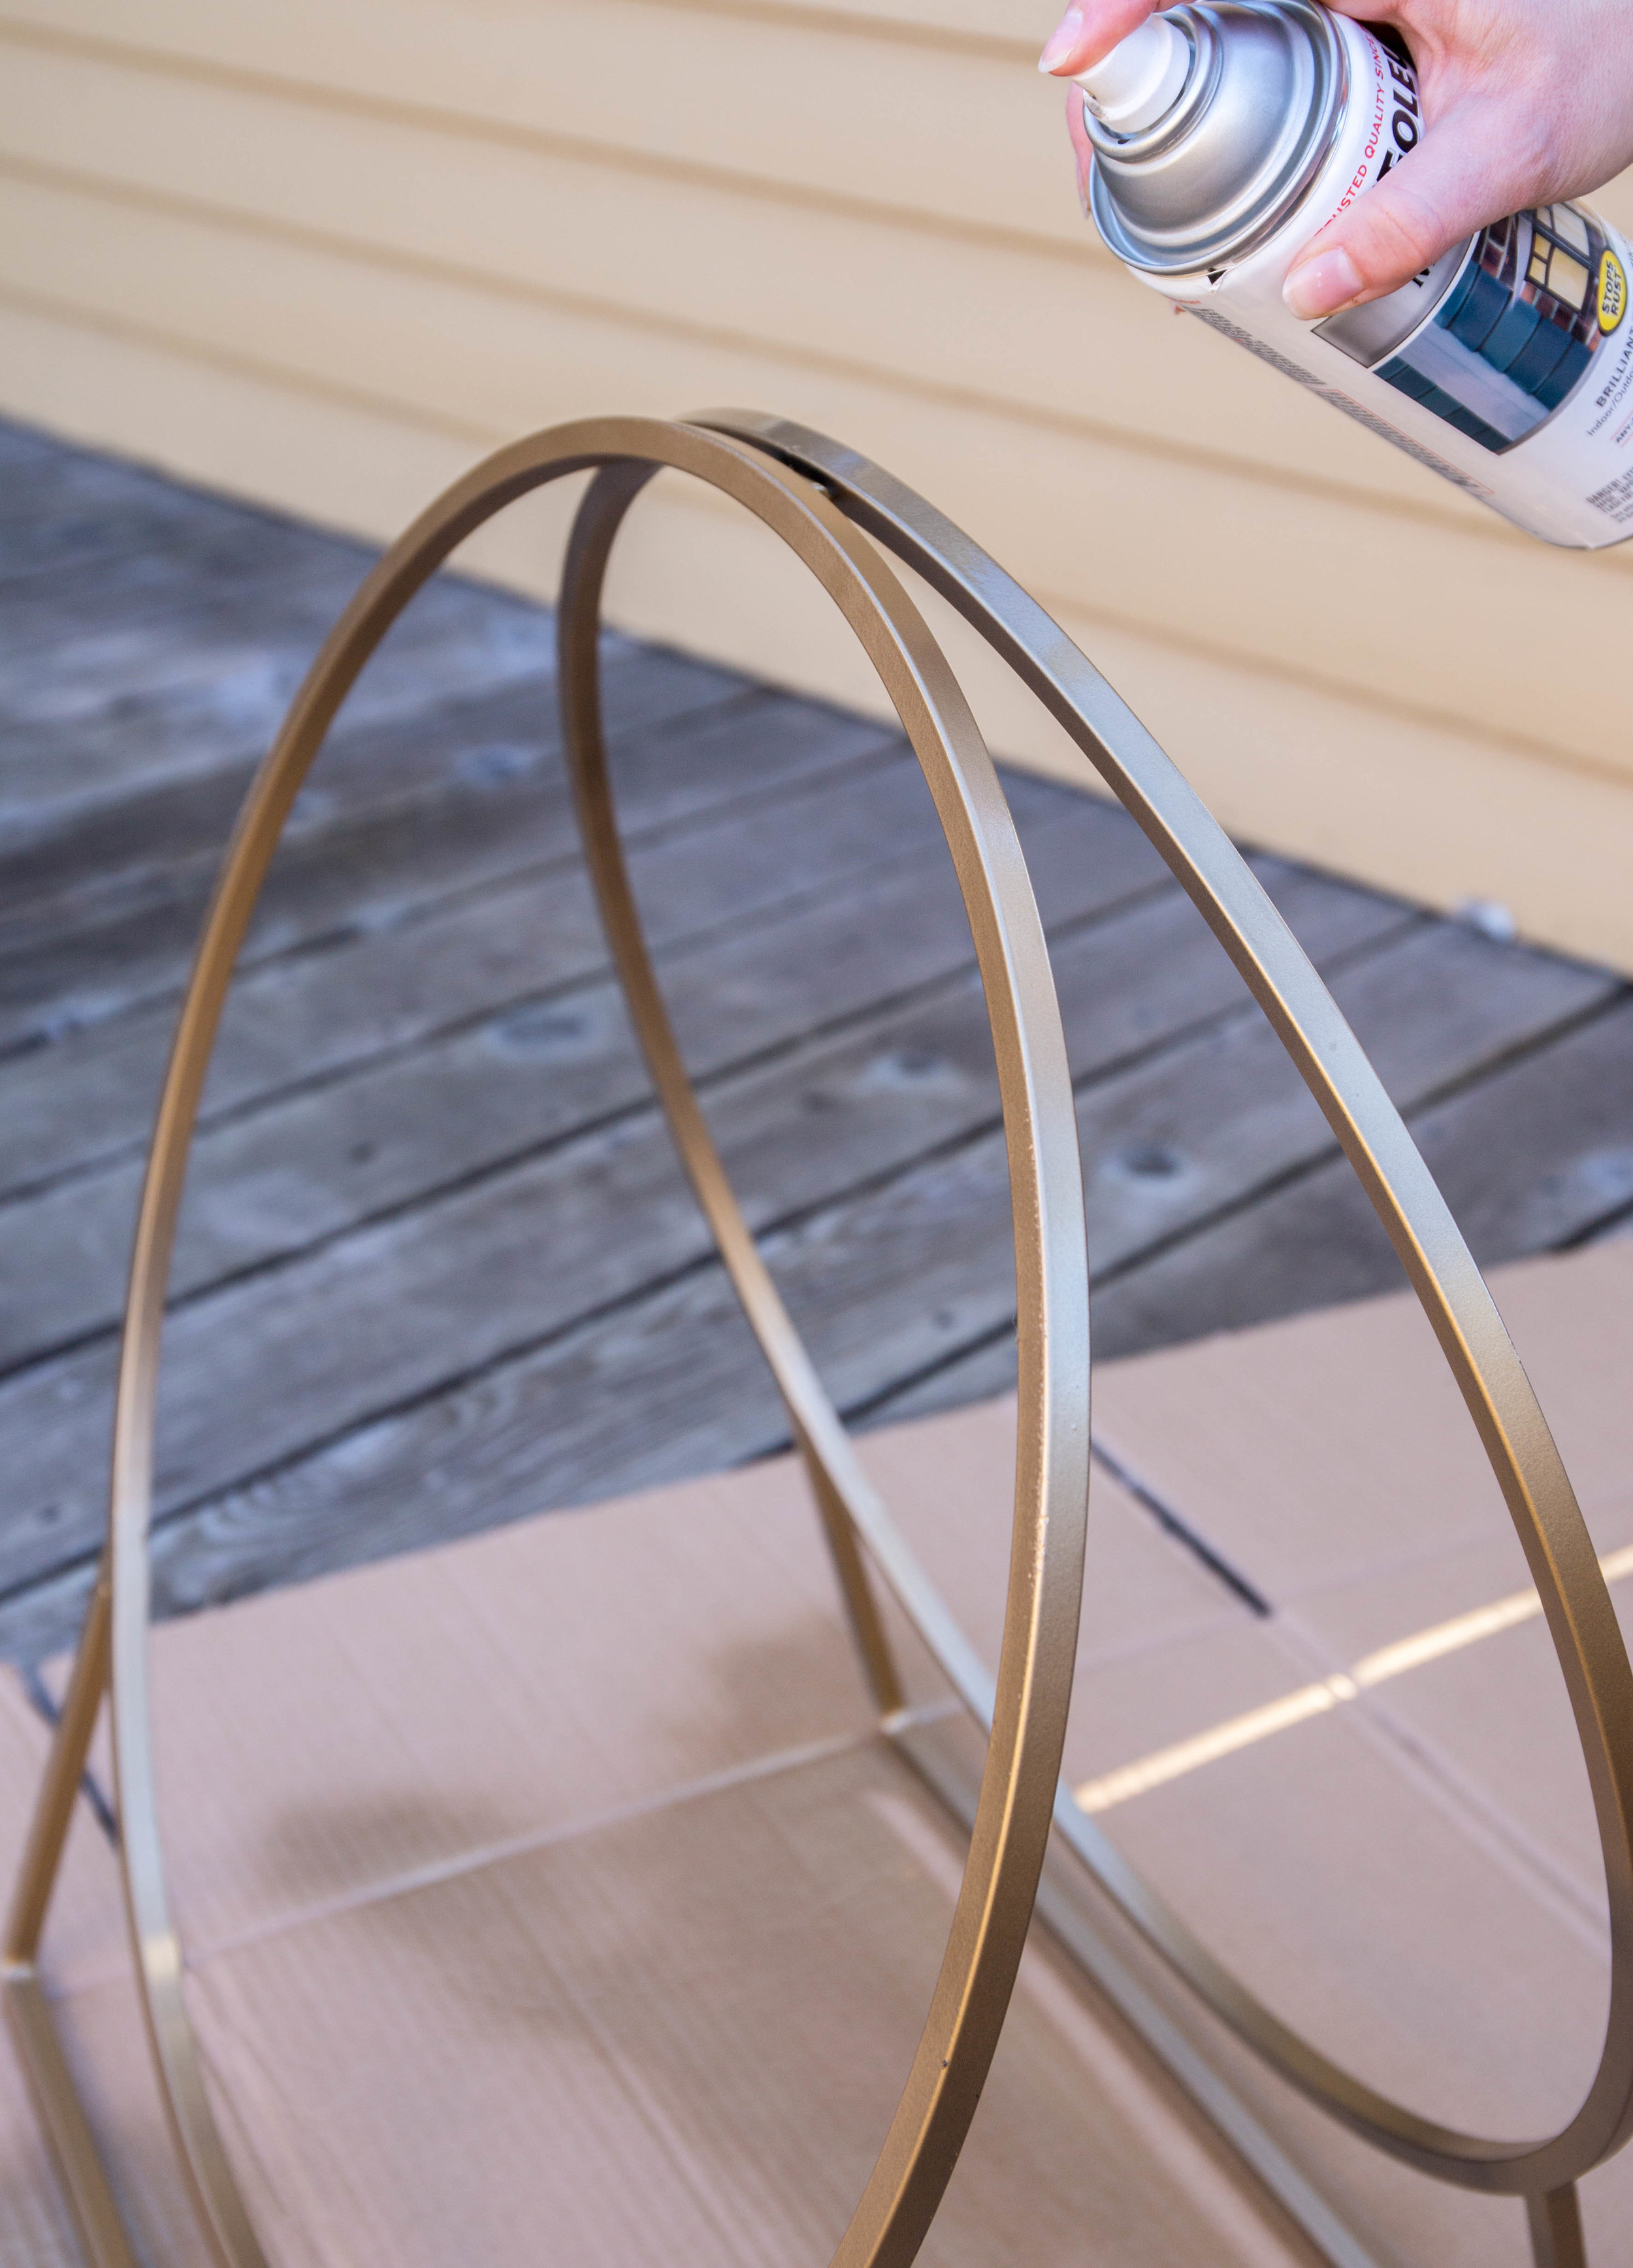
Then, smoothly and, in a steady left-to-right-right-to-left motion, paint the entirety of the hoop, holding the can far enough away from the hoop to avoid any patchiness and dripping. Let dry before flipping over to spay back side. 

IMG_5565.jpg

Once dry, wrap yard or twine around the bottom portion, creating a basket, and secure with small knots on each side.

IMG_5581.jpg
Snapseed.jpg

Wrap a small amount around the handle to tie in the basket design and...

_MG_5604.jpg
_MG_5623.jpg


Look at that! Your own DIY mid-century inspired hoop log holder! 

_MG_5624.2.jpg
_MG_5629.2.jpg
_MG_5634.jpg

Follow


OUR BATHROOM : THE PLAN

 
49947ceed85da7dce0f37c12ef4968ac.jpg
2940be000d86e1346d7abac849125fa2.jpg
eb986c1c09ef35243b7f9e0f1c165b0b.jpg
543d44d0b9c6fe4d4f3ec06cea8dda1e (1).jpg

So we bought a house! 
In Portland, Oregon!
(oh yeah.. and we moved there.)

Danny and I made a giant leap this year and pulled the plug on moving to Portland, something we have been discussing for years. So what a better push than buying a house. We got serious about looking in August and by September 13 we put our first offer in on a 1920's bungalow located in NE Portland - sight unseen.

(Also, this is my excuse for taking six months to post about our honeymoon.)

Before we even stepped foot inside, we knew this house wasn't our style as-is. It's on the darker side, was possibly "updated" in the 80's or 90's, some walls are blue, some are purple, yada yada. But one thing we didn't know until we got there was really how much potential this home has. And THAT was exciting! We quickly started bouncing ideas off each other and for me, this really is a dream to finally be like Joanna Gaines and fix this house up! Minus the shiplap. 

So, of course, the first thing I focused on was wanting to gut the kitchen... and I wanted it done before we moved in... and I wanted it done now. But as life has it, we ended up having to move quicker than anticipated because we have to work, right? So, we accepted having to live in the house in it's current state for a while.

Now, people told me to "live in the house first" before you start any work, to really get "feel" for the home. And you know what? They were right. Because now we realize the bathroom is the first to go! So here we are.

unnamed.jpg

This bathroom... wait, let me rephrase that:  This toilet, is a nightmare. I am usually all for old things, but this pull-chain toilet has got to go - and fast! I can no longer pee in fear! I am creeped out by the older linoleum floors and counter tops, the un-centered mirror makes me cringe, the brown-blue combo is dated, and I swear the "lovely" oak vanity was made for really short folk because I am 5'4 and this thing hits the top of my legs. 

Soooo here's the plan!!

Bathroom Remodel 2.jpg

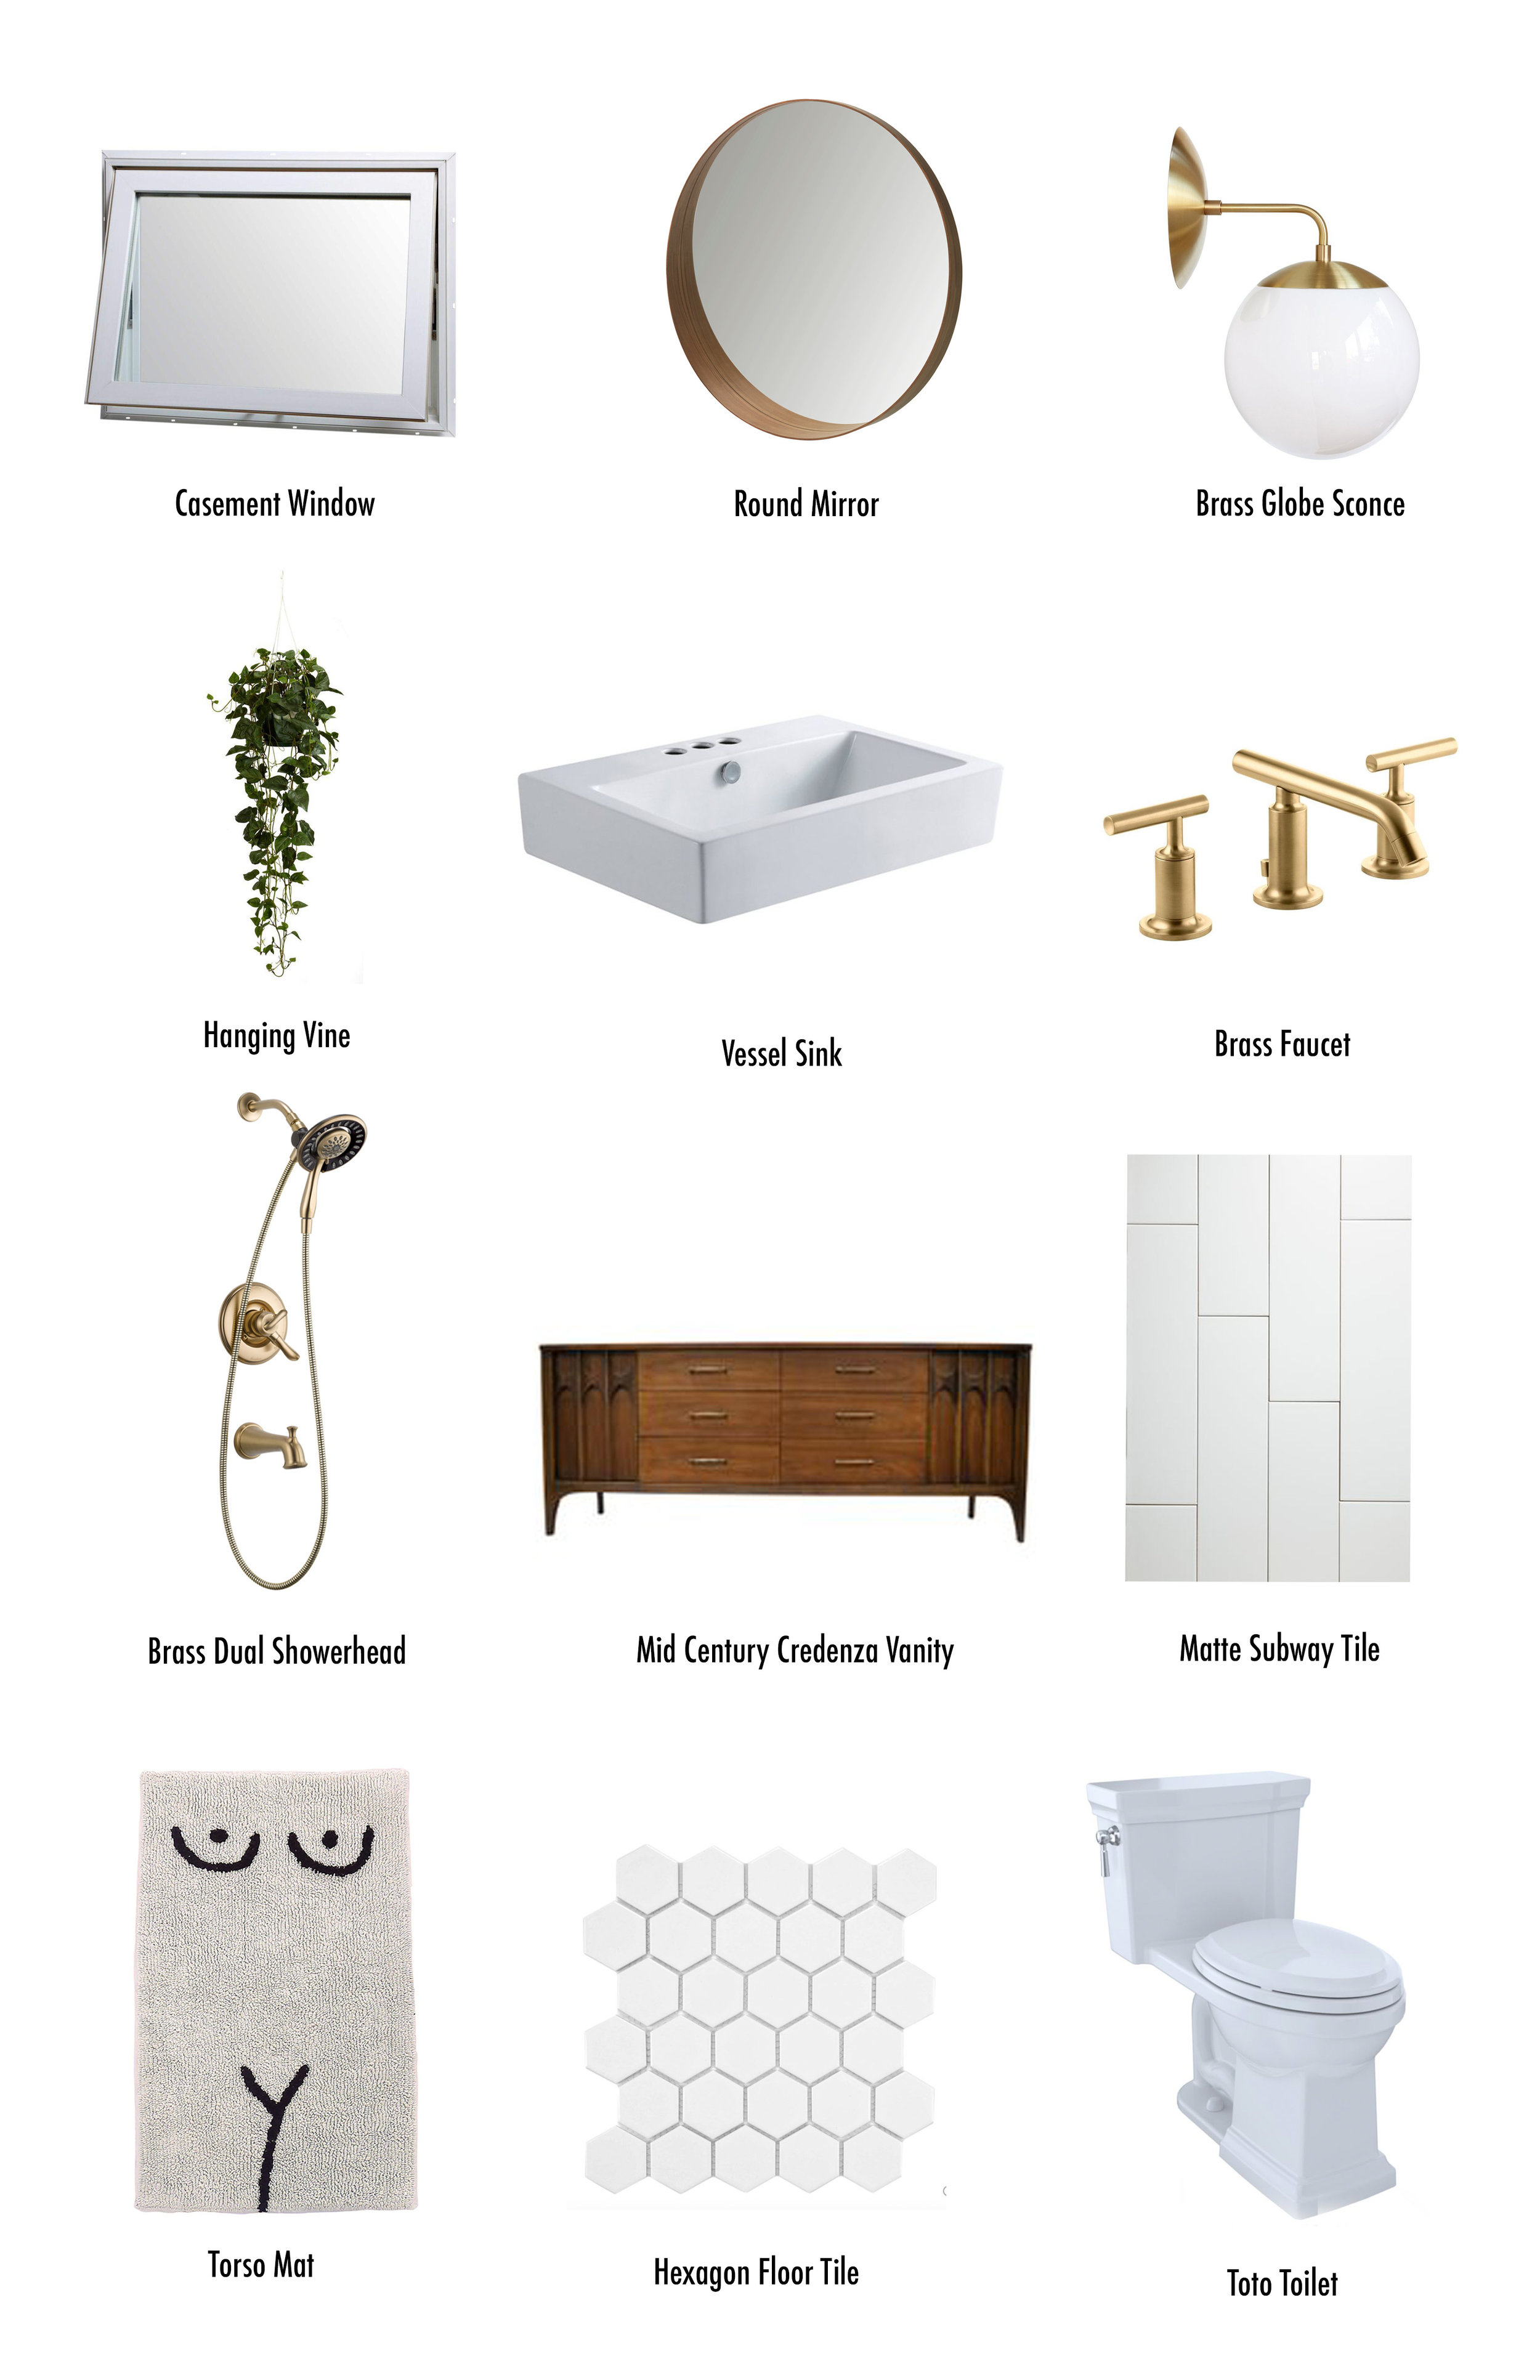
We really want a minimal, clean, and somewhat modern bathroom, but since the house is old, we we want to restore its charm and vintage look while introducing a somewhat modern, updated style. Let's call it "vintage-modern".  

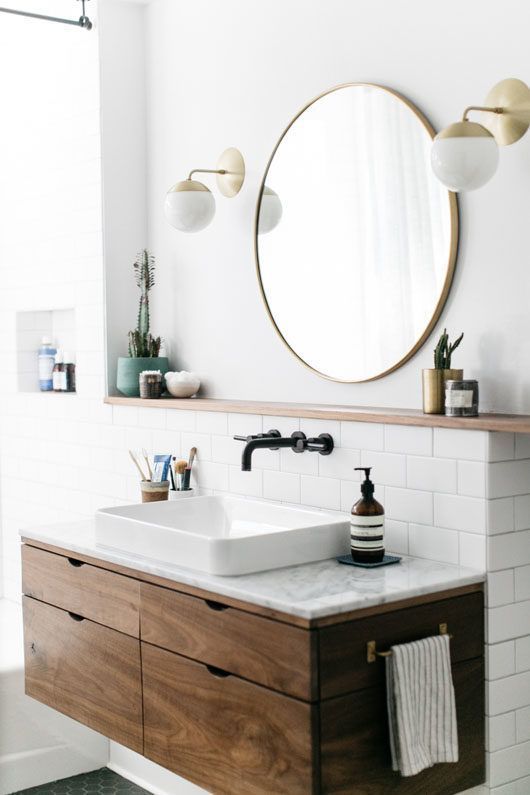
Aside from painting the walls white, we want to remove the stained glass window (and re-purpose it elsewhere) and install a casement window. We'll likely use the large round mirror we purchased from Ikea earlier this year and flank it with vintage-inspired brass sconces with matching brass fixtures (though we may stick with stainless to not be too trendy). We'd like to re-tile the shower with a matte subway tile, replace the floors with a white, hexagon tile and a light grey grout, and replace the ancient toilet with a Toto brand, because, as my Dad told me about his Toto toilet: "That mother-effer will flush anything." Lastly - and my FAVORITE part - we'll be re-purposing one of our many mid century credenzas (I don't have a problem... you have a problem) that I insisted we schlep up to Portland, transforming it into a vanity (this will be a HUGE money-saver), and placing a rectangular vessel sink on top!

If all goes as plan, I may never leave the bathroom!


Inspiration photos 1 / 2 / 3 / 4

Follow