Last week we had Portland’s “February Fake Out” of sunshine and mid-60s which sent our garden into Spring mode with the peonies and tulips coming up and the crocus and rosemary blooming. Now we are heading back into the freezing temps for a few days so I’m baking some bread!
I love using home grown ingredients so I snipped a few branches from our gorgeous rosemary bush and threw a head of garlic in the oven. Roasting a head of garlic takes a little time but the end result is definitely worth it. Slowly roasting garlic will caramelize it bringing out a rich and a mildly sweet flavor and giving it a satisfying chewy texture - perfect for bread - and will leave your kitchen smelling so good. The garlic can be roasted day of or before so plan on this step prior to starting the dough.
This bread is so easy with NO kneading. I didn’t use my stand mixer for this but will try next time to see if it makes a difference.
WHAT YOU’LL NEED:
1 head of garlic - roasted & chopped
Olive Oil
Salt
Pepper
2 1/2 teaspoons active dry yeast
1 teaspoon honey
1 1/4 cup 100° water
2 teaspoons salt
2 tablespoons chopped fresh rosemary
3 cups flour
DIRECTIONS
Roasting the Garlic:
Preheat over to 400°
Cut the top off the top of an entire head of garlic and place on a sheet of foil.
Drizzle a little bit of olive oil on top and sprinkle a pinch or two of salt and a bit of fresh pepper.
Wrap foil around tightly, pinching at the top, and place on middle rack in oven.
Roast for approx. an hour to hour and half to desired caramelization.
Set aside to cool.
The Dough:
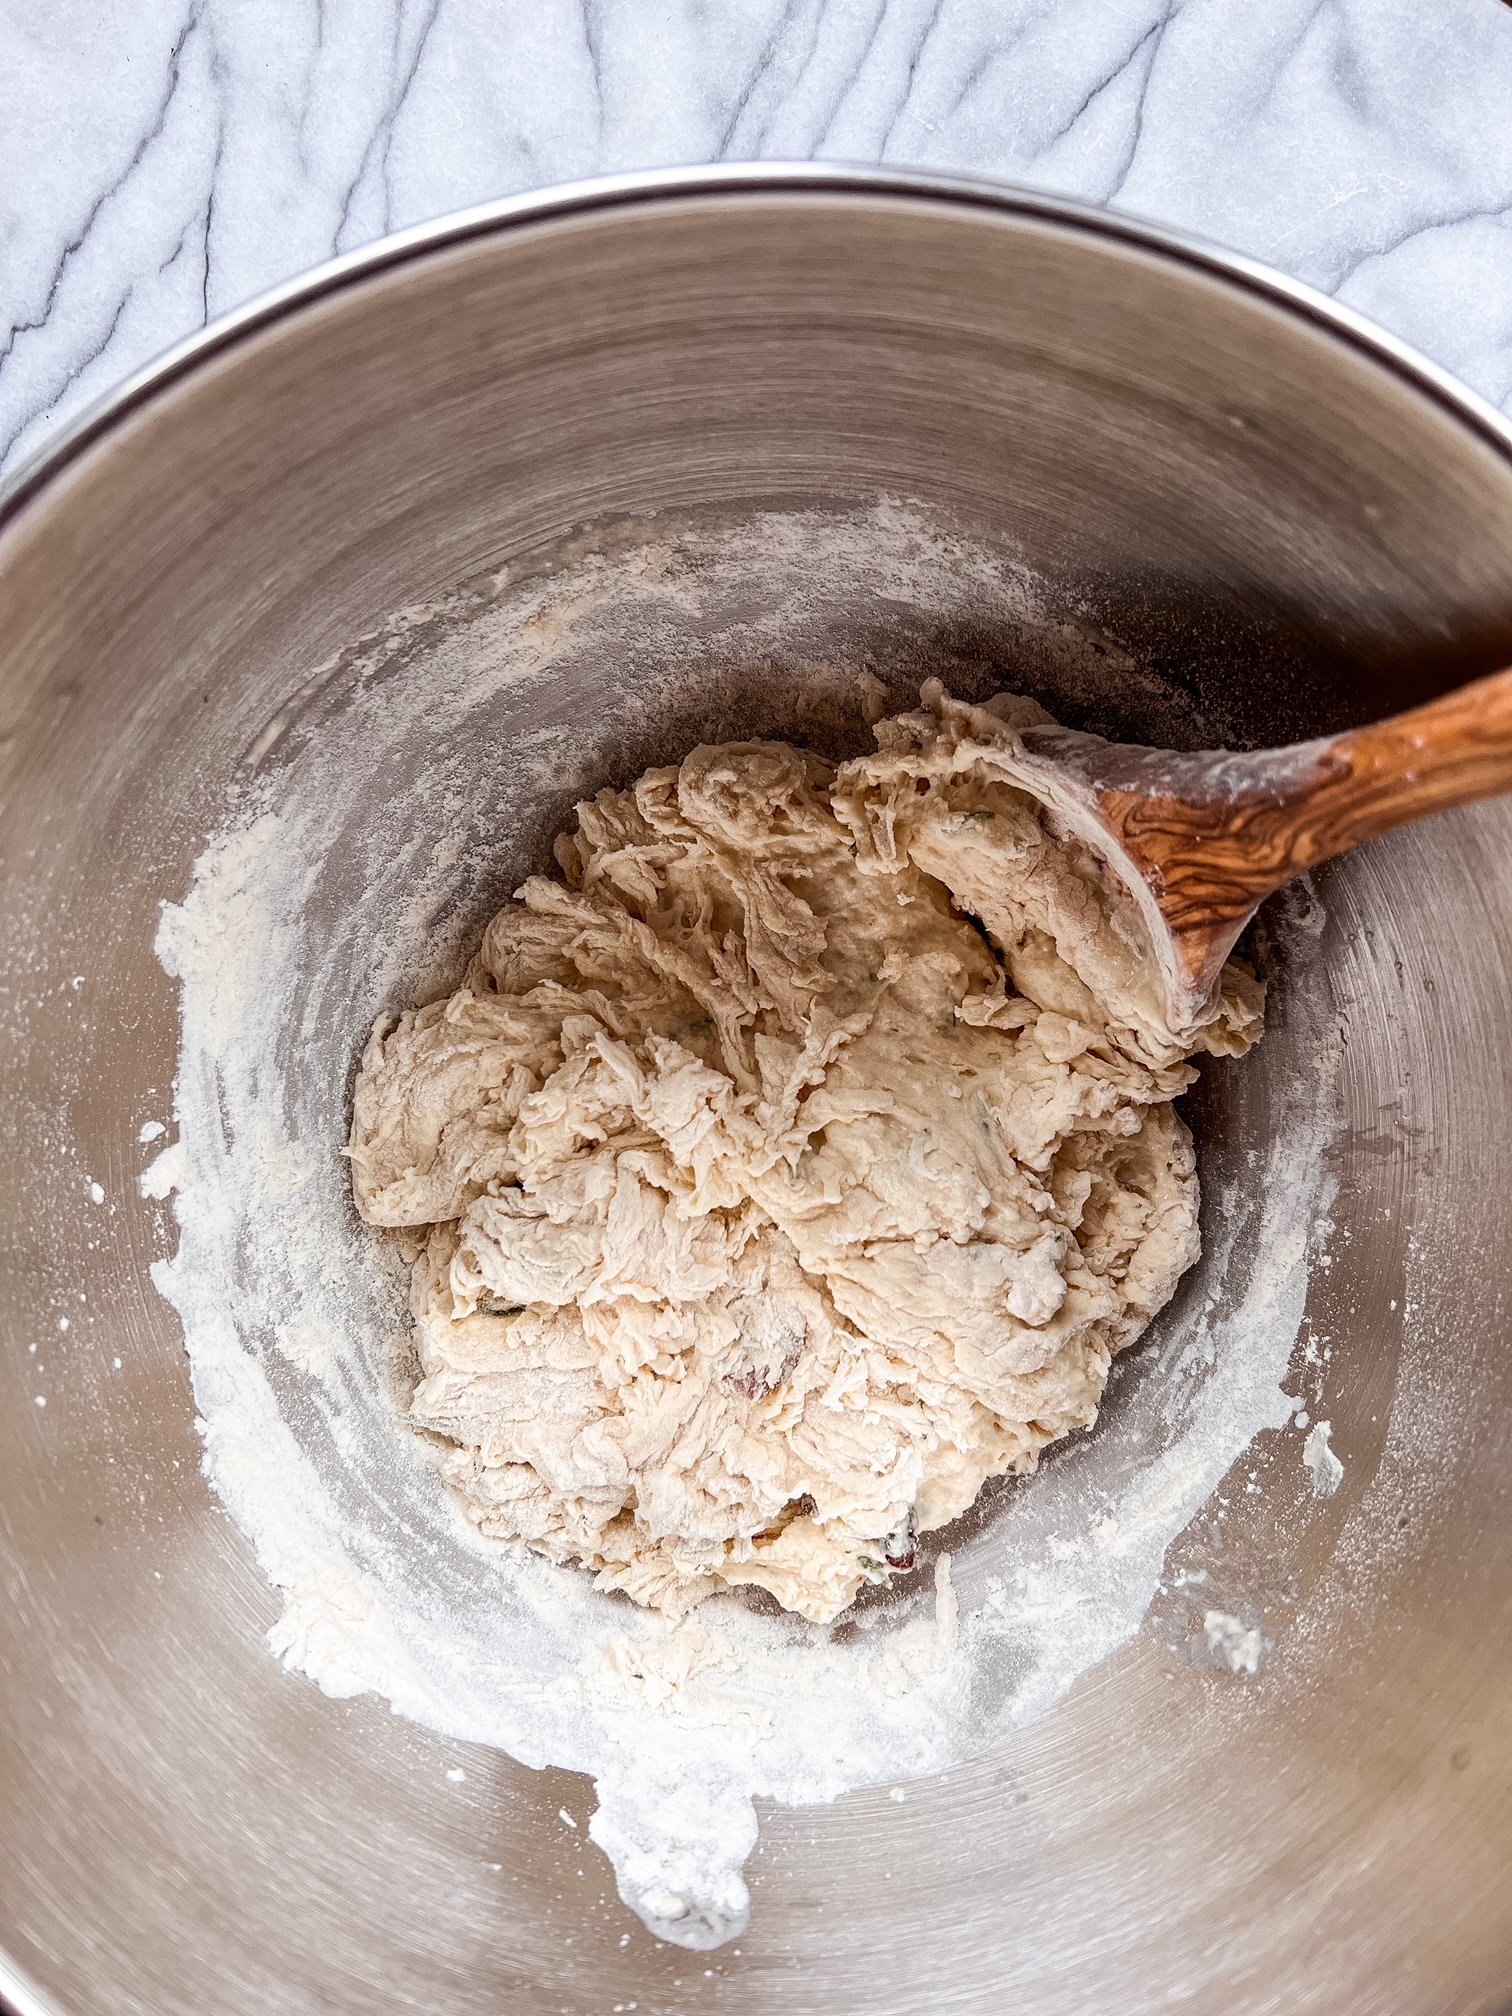
In a large bowl mix together yeast, honey and water. Let is sit for 10 min until foamy.
Mix in chopped rosemary and garlic, and salt.
Slowly add in flour while mixing with a wooden spoon until dough appears to mixed and a bit flakey.
Drizzle olive oil over the top and lightly coat the dough to make sure all sides are covered.
Place a clean dish towel over the top of the bowl and let proof for an hour - dough will double in size.
Gently tip the dough out onto a floured surface without smooshing any of the air bubbles out.
Carefully fold in each side, turning, and repeating about 4 times and then place in floured bowl, seam side down.
Cover again and let sit for 30 min while the oven pre-heats to 450° with a dutch oven or oven-safe pot inside.
Place a sheet of parchment paper down and carefully tip the dough seam side up onto the sheet.
Carefully place the parchment paper with the dough into the pot and bake for 30 min, covered.
Remove lid and continue to bake for 20 min or until desired browning.
Let bread cool for at least 20 min and enjoy!


